
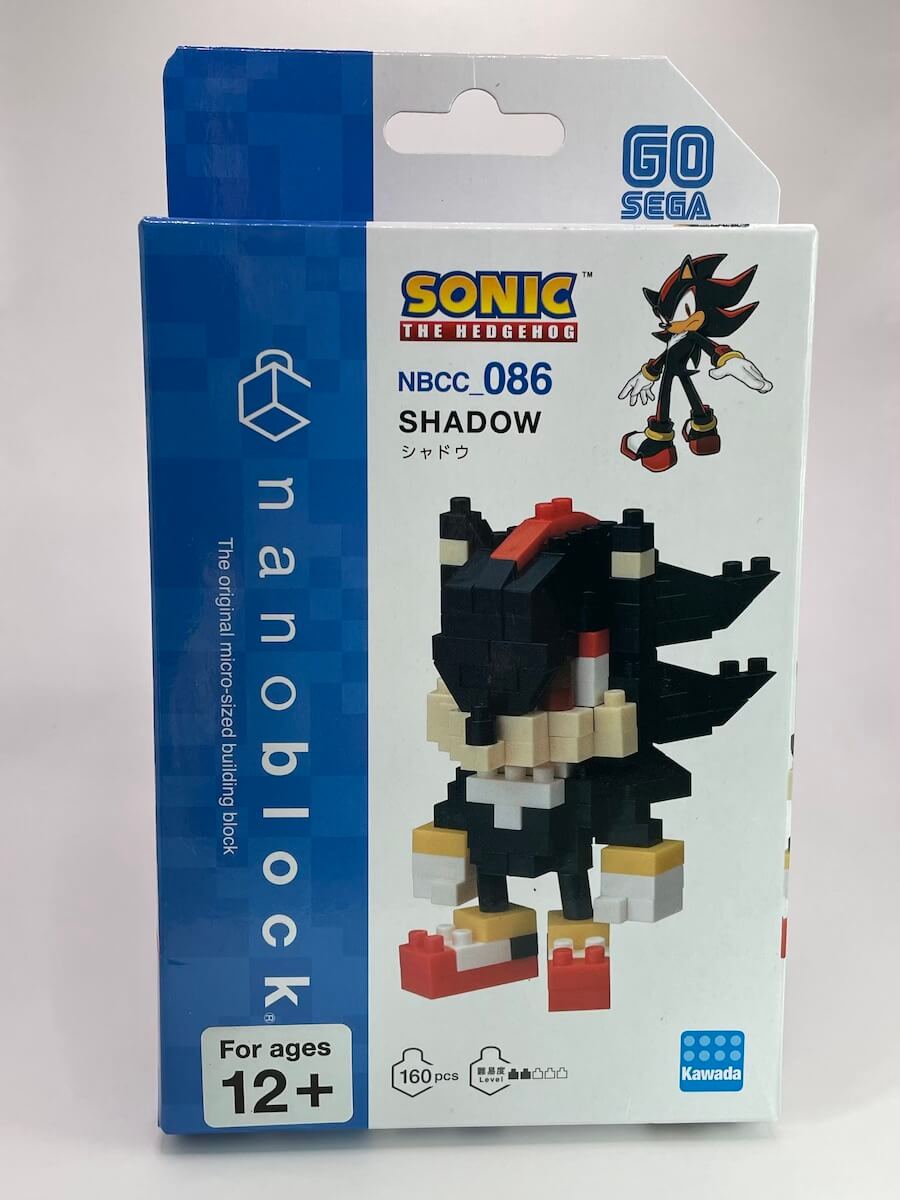
My Adventure Building the Sonic Nanoblock Set: Step by Step
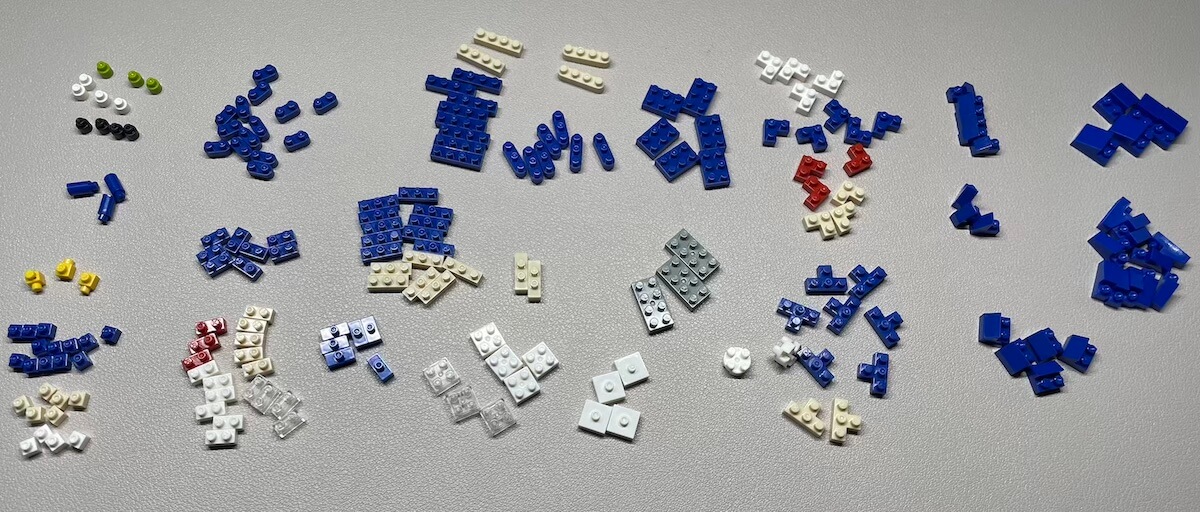
If you’re like me and you’ve got a soft spot for both the classic and modern versions of Sonic the Hedgehog, as well as a love for challenging building sets, then you’re in for an exciting ride. The Sonic Nanoblock Set promises to bring our beloved Sonic to life in a way that’s truly unique and intricate. In this post, I want to take you on a journey, step by step, as we construct this iconic character together. Along the way, I’ll share my thoughts and experiences as I follow the included instructions. All right, let’s get building!
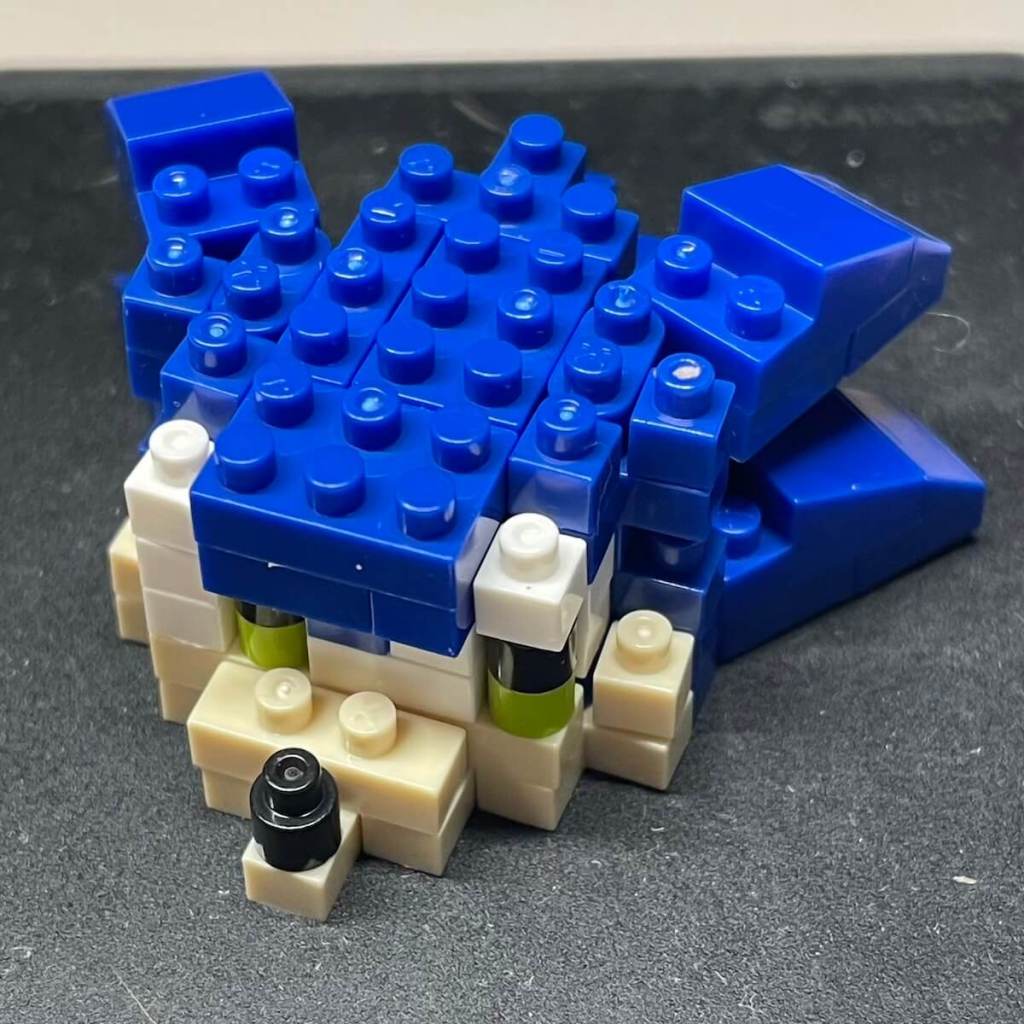
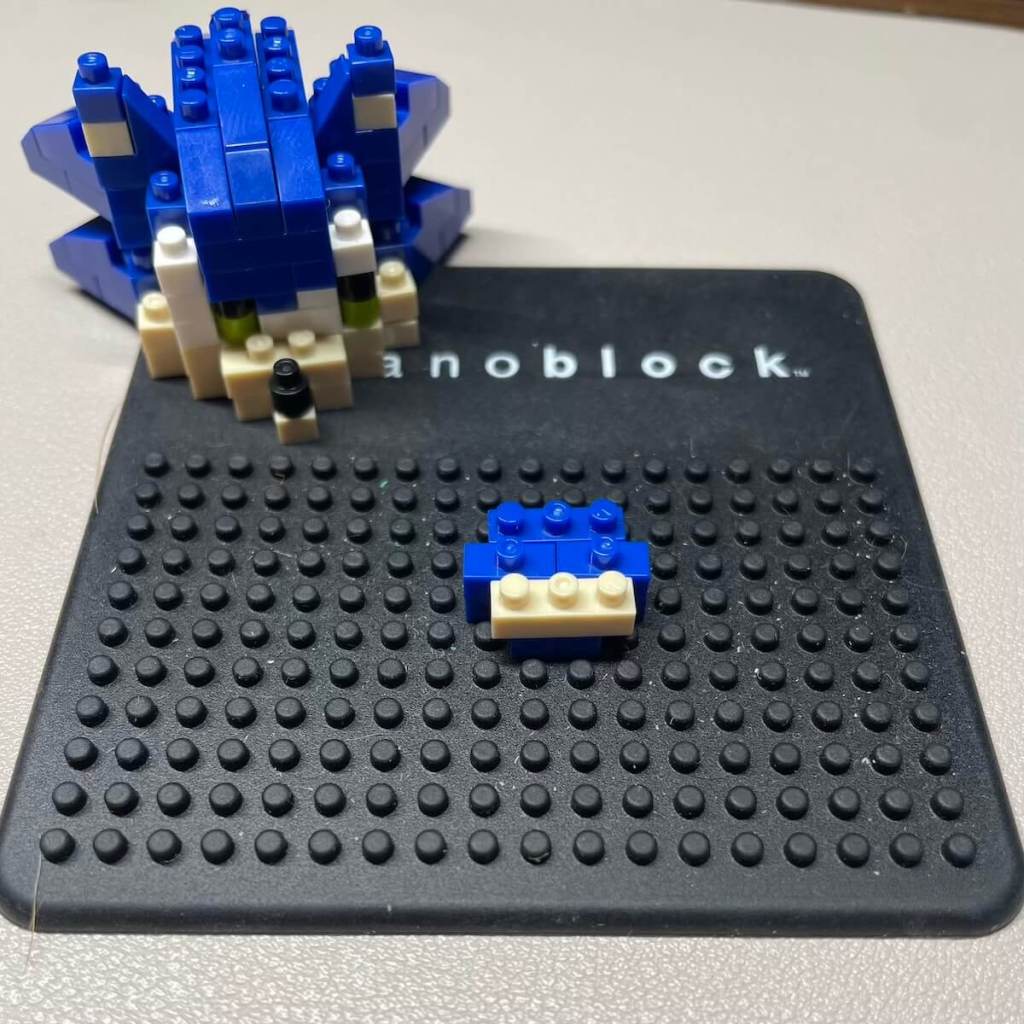
Step 1: The Tricky Start
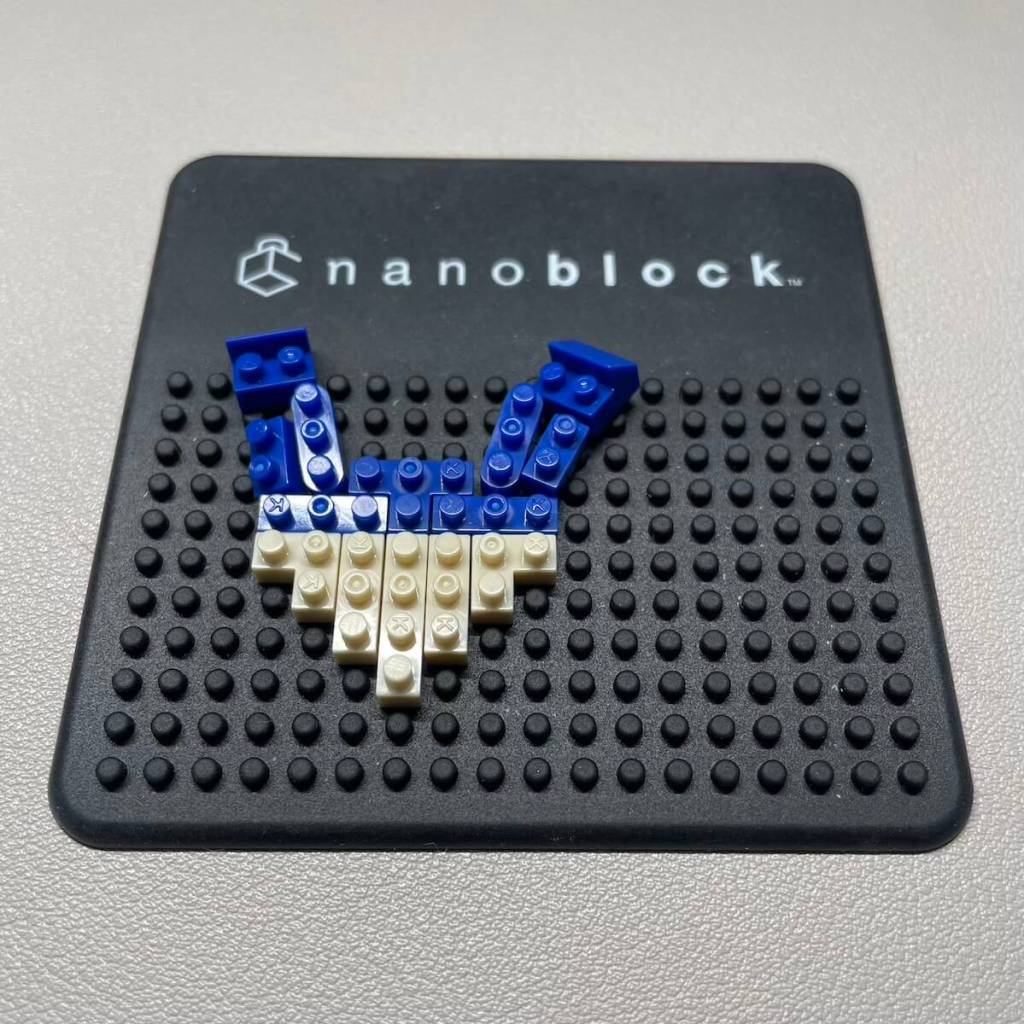
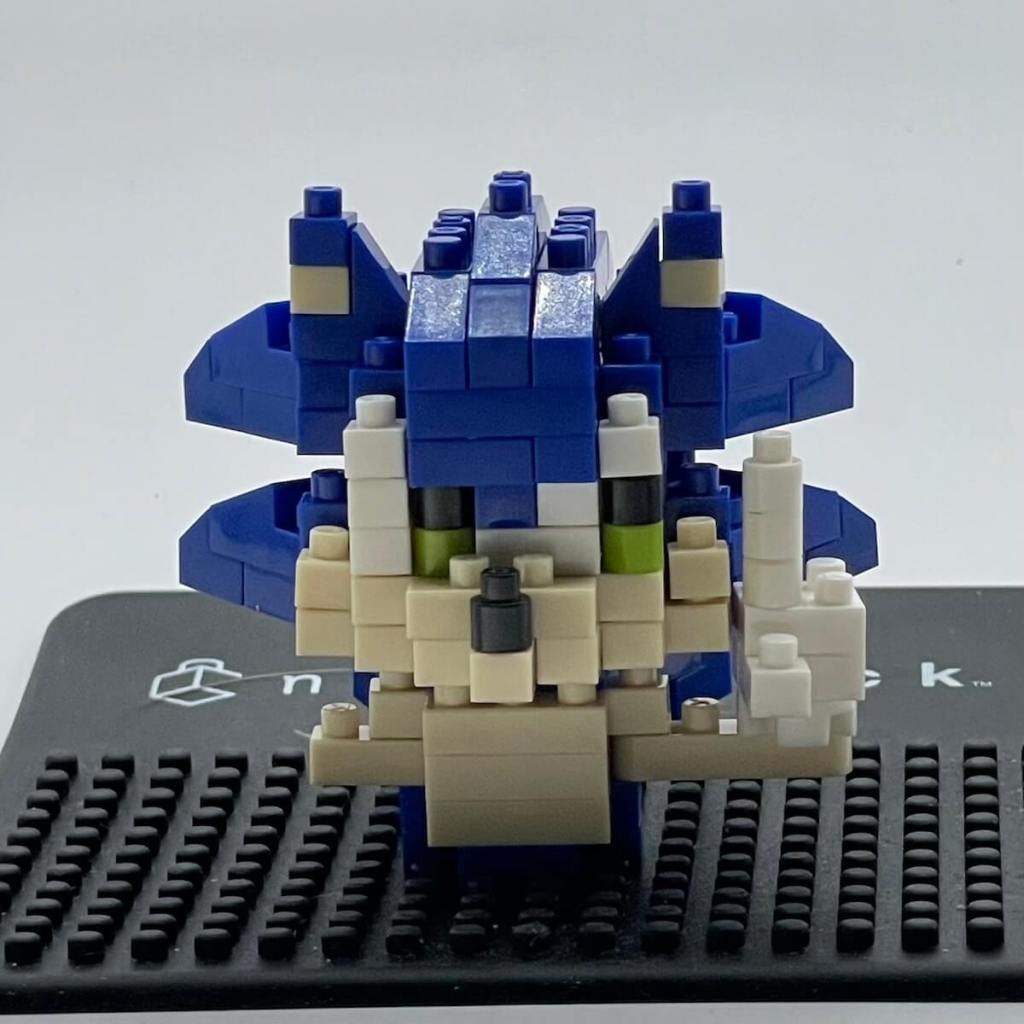
Kicking things off with Sonic’s head, I must admit, this step caught me off guard. Even with the helpful Nanoblock pad, it was surprisingly challenging. The quills, which are Sonic’s signature feature, have an angle that doesn’t quite match up with the silicone dots on the pad. This meant I had to rely on good old-fashioned steadiness to get it right without the pad’s assistance
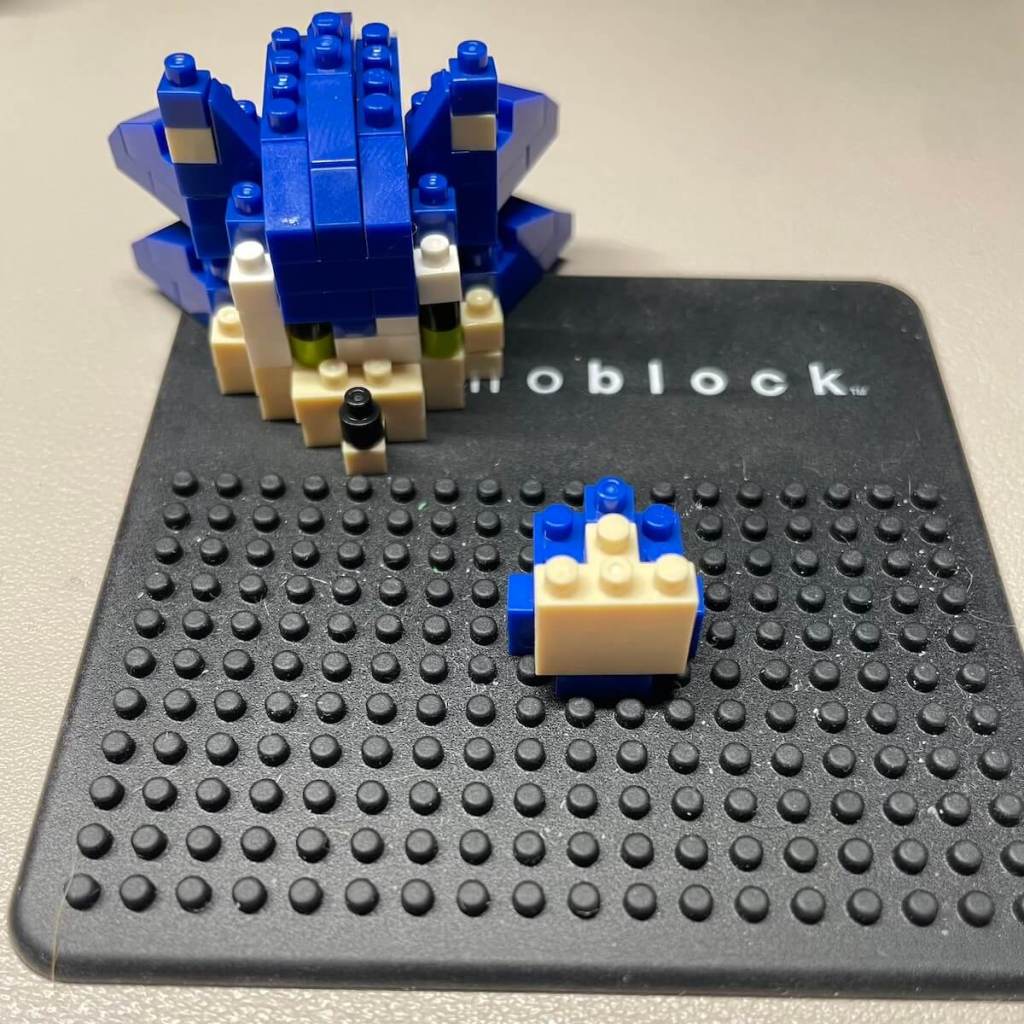
Step 2: Finding Stability
Moving on to the second step, I was relieved to discover that it added much-needed stability to the build. My initial worries about fragility were put to rest as the structure held together even when I removed it from the Nanoblock pad. Looking back, combining steps 1 and 2 might have given me a greater sense of accomplishment early on
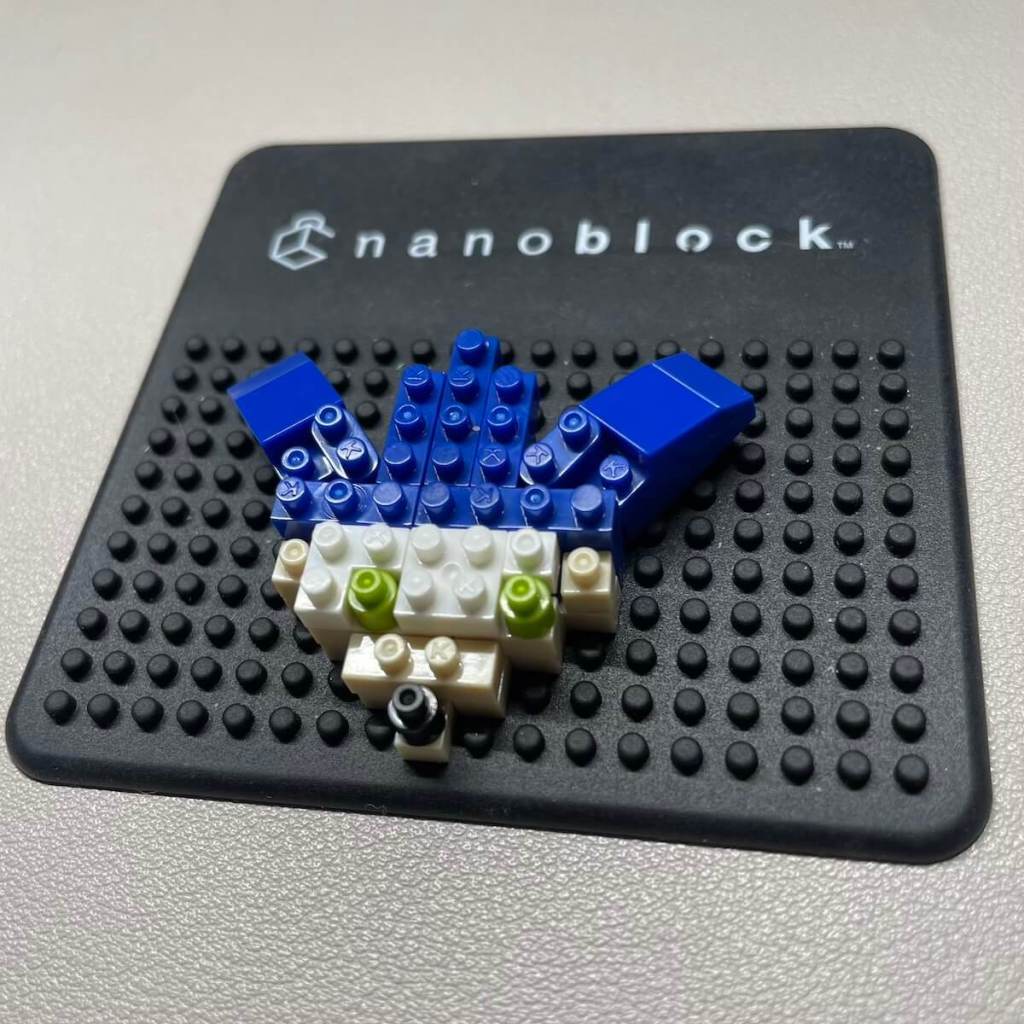
Step 3: Crafting Sonic’s Face
No complaints at all about this step. It flowed smoothly, and it continued to secure those initially concerning angled quills. This is where Sonic’s face really started to take shape, complete with those iconic green eyes that are a hallmark of the modern Sonic.
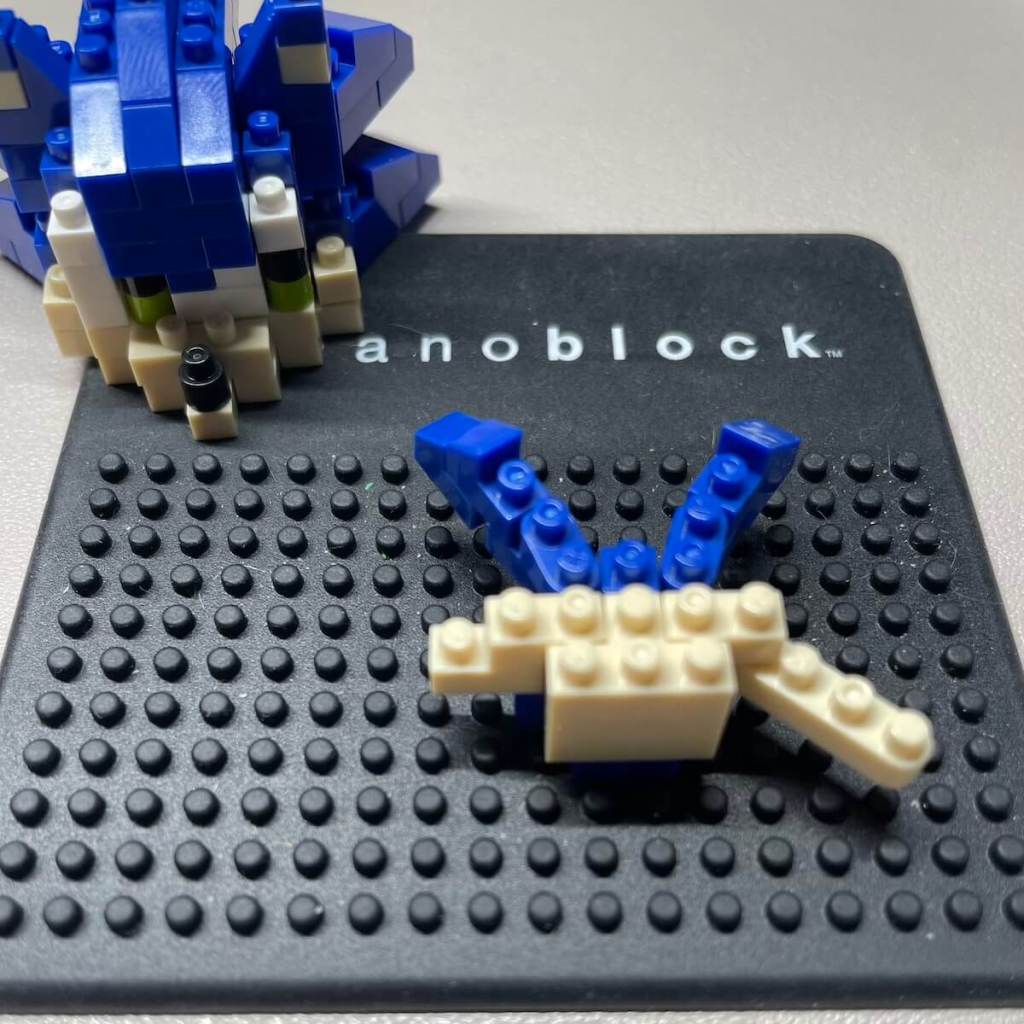
Step 4: Building Strategy
For this step, I opted to start from the eyes and work my way up. In hindsight, it might have been smarter to begin with the blue 1X2 bricks and build around them. Nevertheless, the angled 1×3 pieces did an excellent job of holding Sonic’s distinctive quills in place
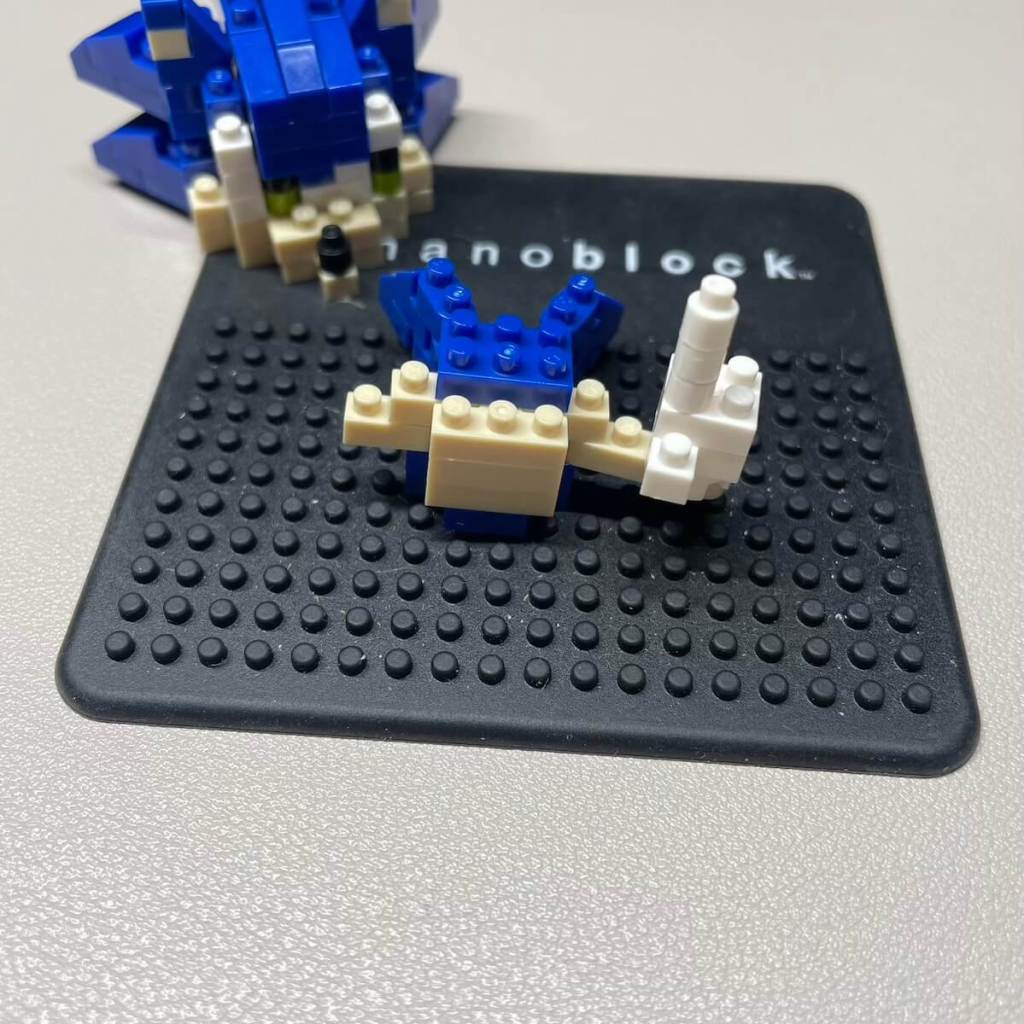
Step 5: A Touch of Manual Precision
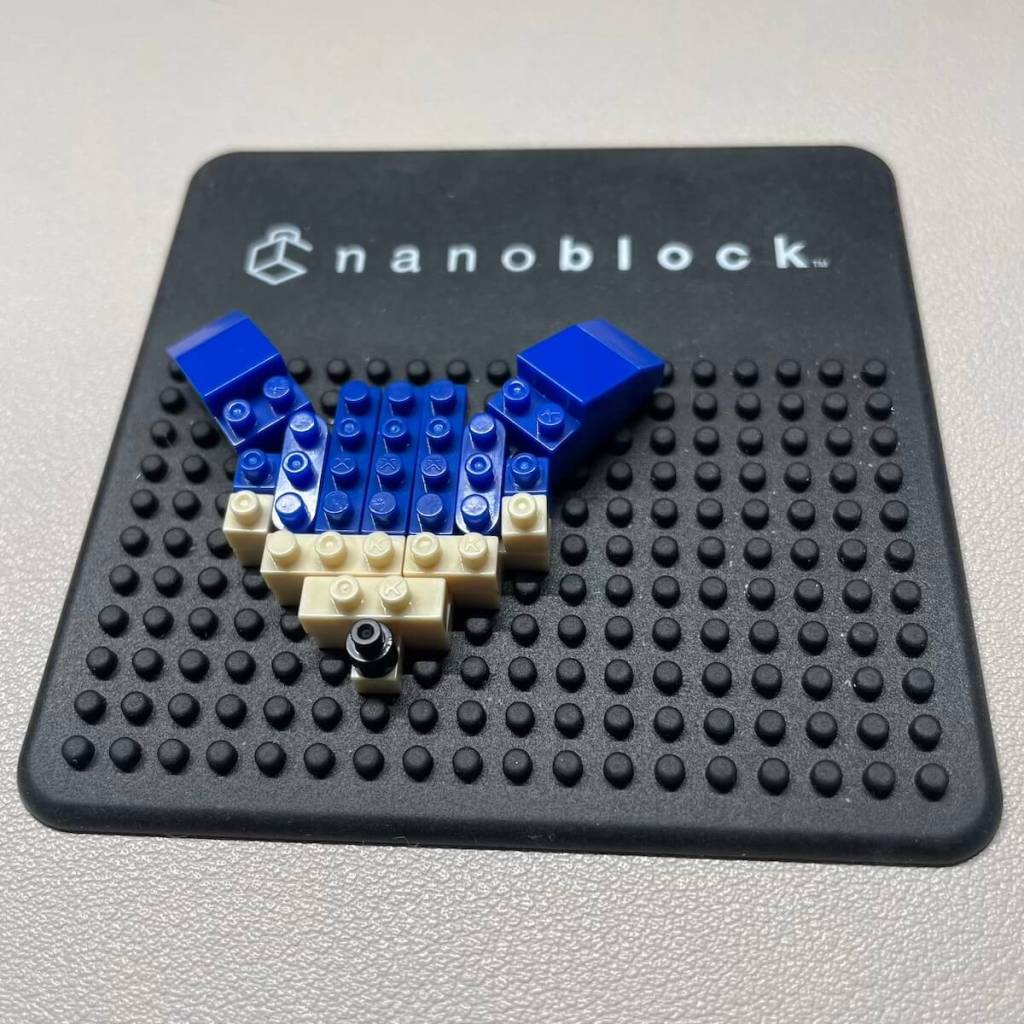
Step 5 required me to take the model off the pad and apply some gentle pressure with my hands. While this step called for a bit of adjustment, taking the pieces apart was relatively straightforward. The trickiest part was getting that 1×1 brick in place, which proved to be a bit finicky but ultimately manageable.
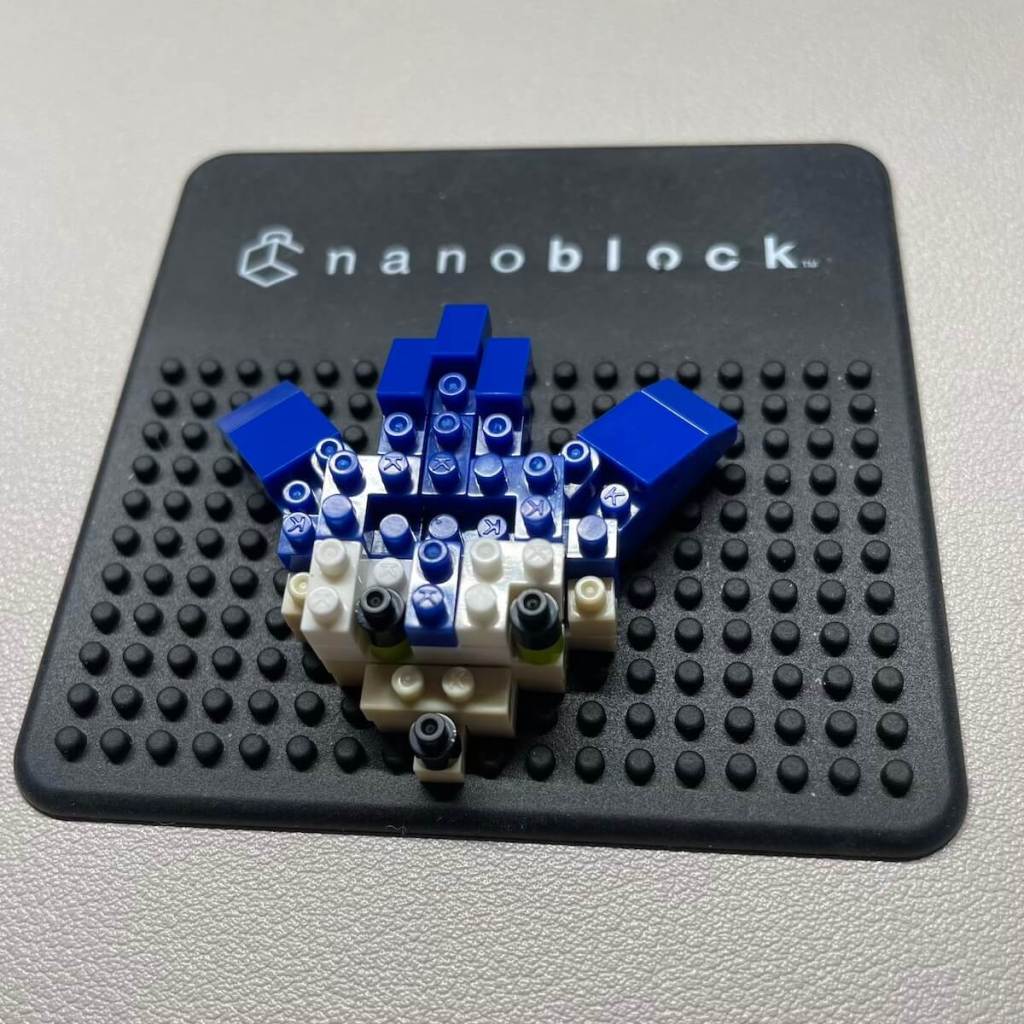
Step 6: Fragility Creeps In
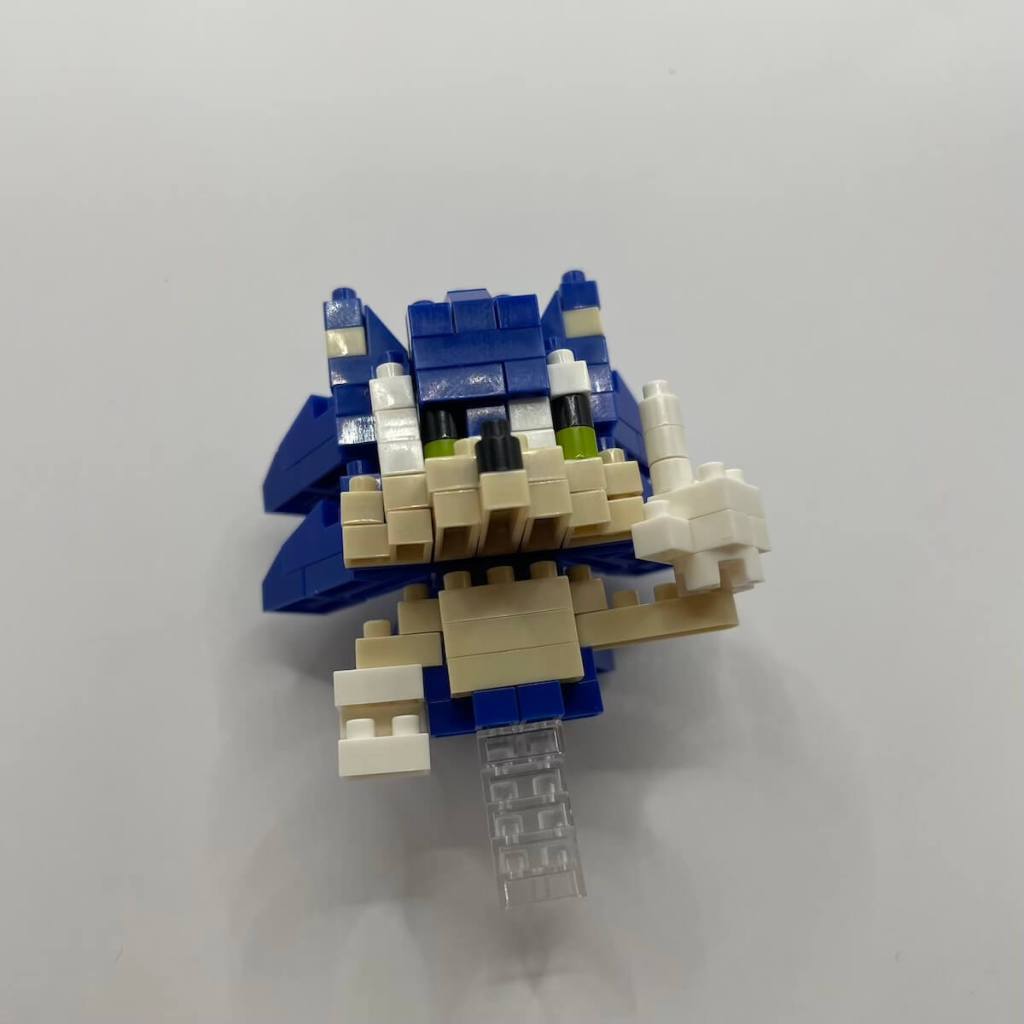
Building two of Sonic’s quills in this step marked a shift towards fragility. The rounded 1×3 bricks didn’t seem too eager to stay attached, and the other quills often felt like they were on the verge of falling off. I kept my fingers crossed, hoping the next step would provide some more stability.
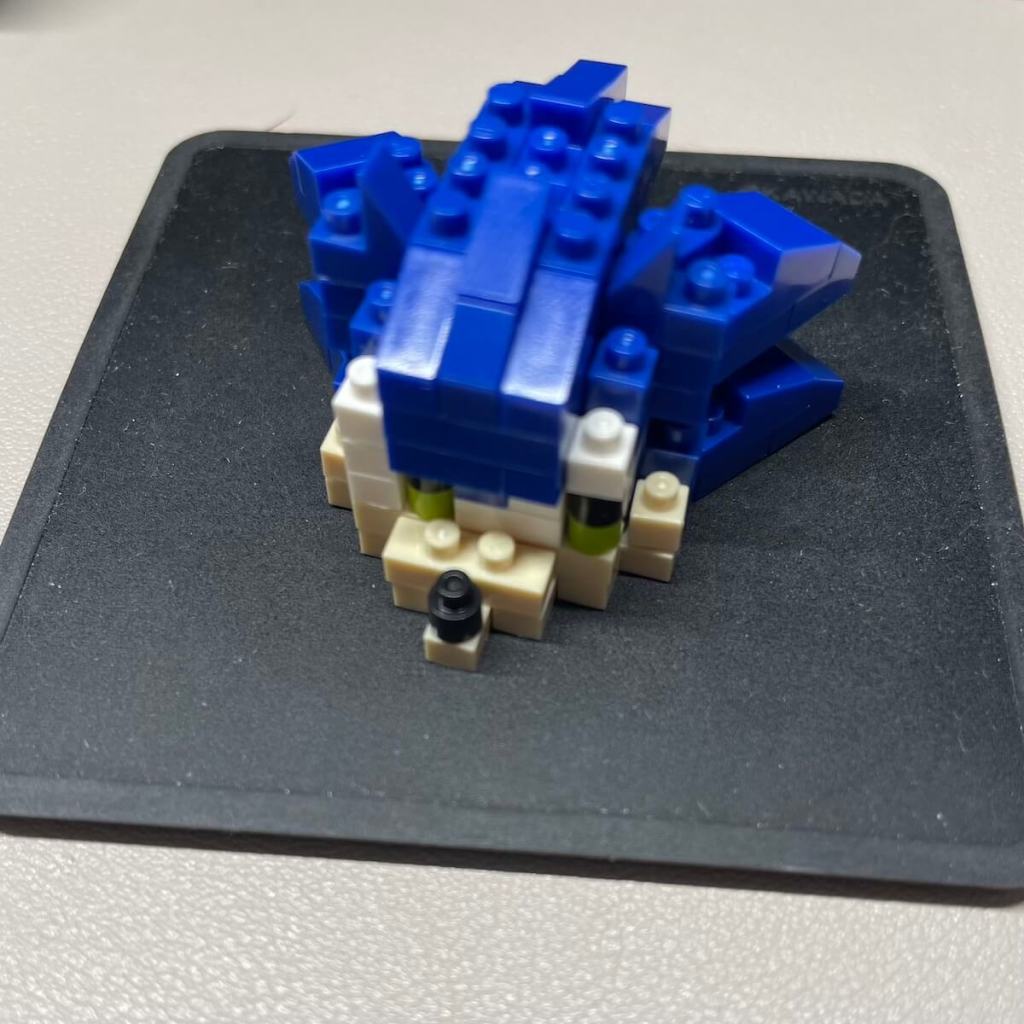
Step 7: Addressing the Wobbliness
Thankfully, my hopes were realized in this step, which securely addressed the wobbliness I experienced in the previous one. It did require some careful manipulation, resulting in a bit of a protruding brow. The solution worked well, but it might not be the most intuitive for beginners.
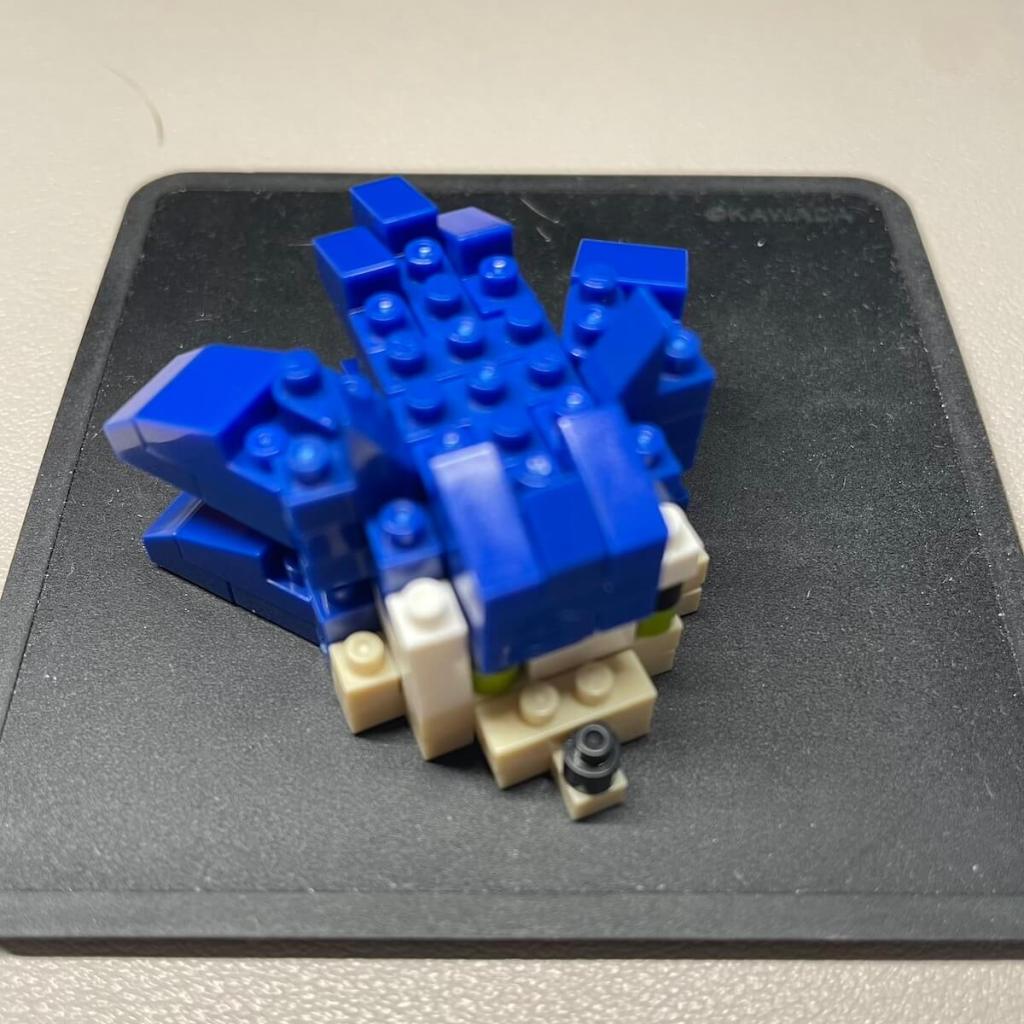
Step 8: A Delicate Balance
Things got a tad more fragile in this step, requiring a delicate touch to keep all the pieces together. Surprisingly, the middle quill parts were held by just a single 1×1 point, yet somehow, things held together reasonably well.
Step 9: Simplicity Returns
Step 9 brought back some simplicity. In fact, it probably could have been combined with the previous step since it significantly stabilized the overall model.
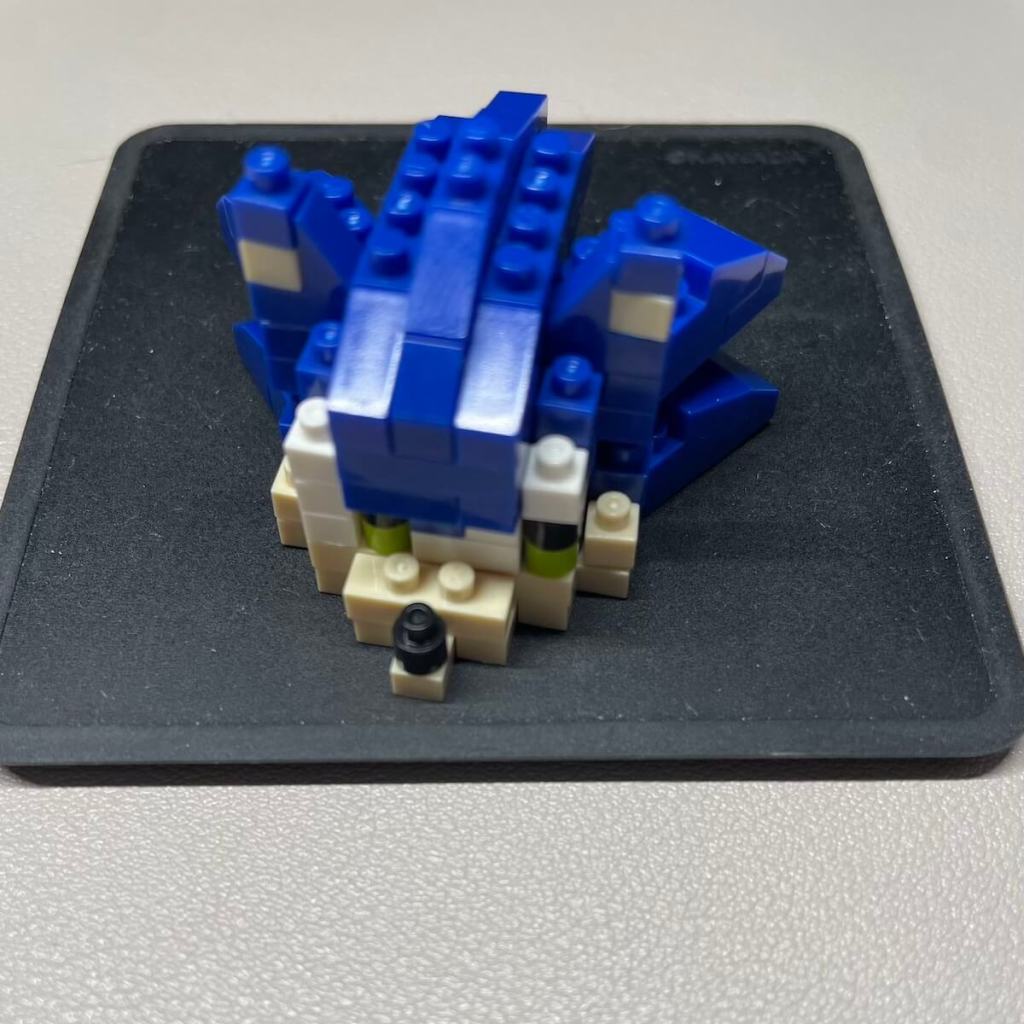
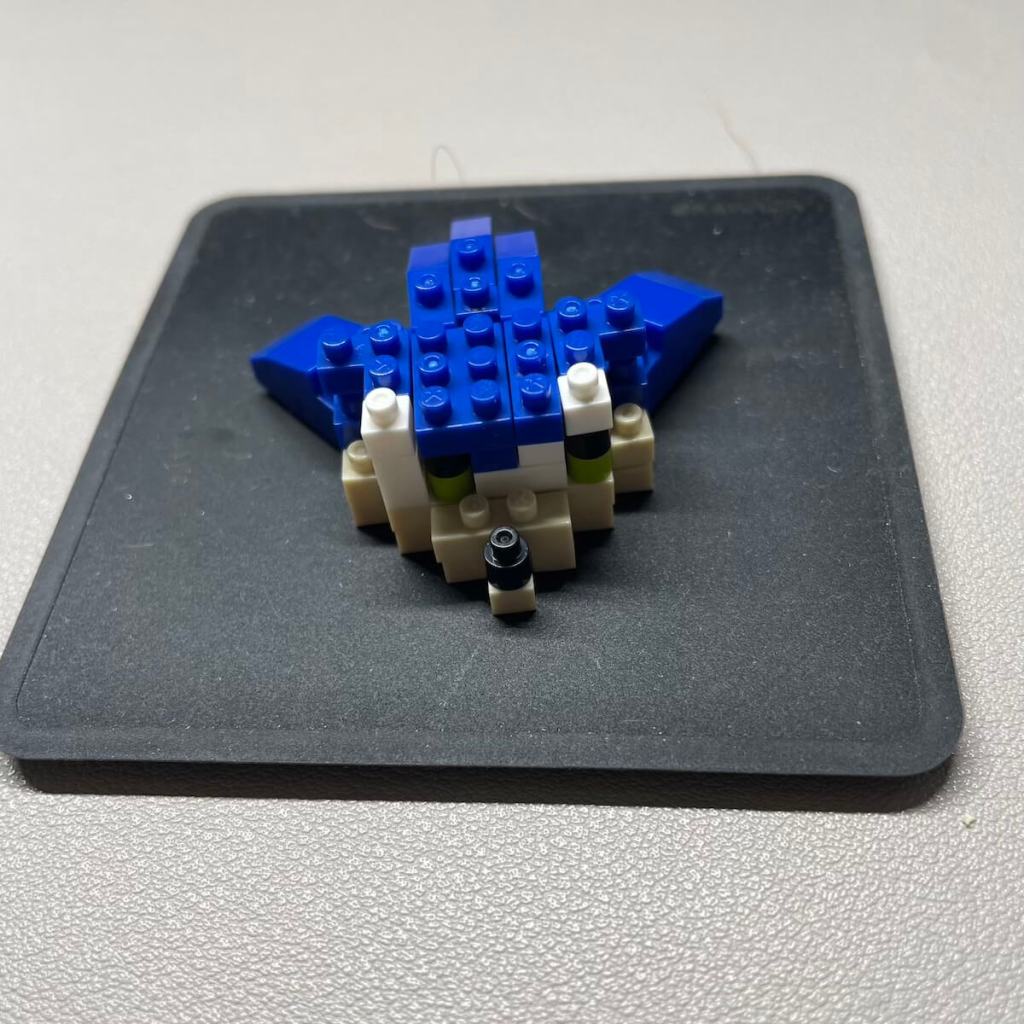
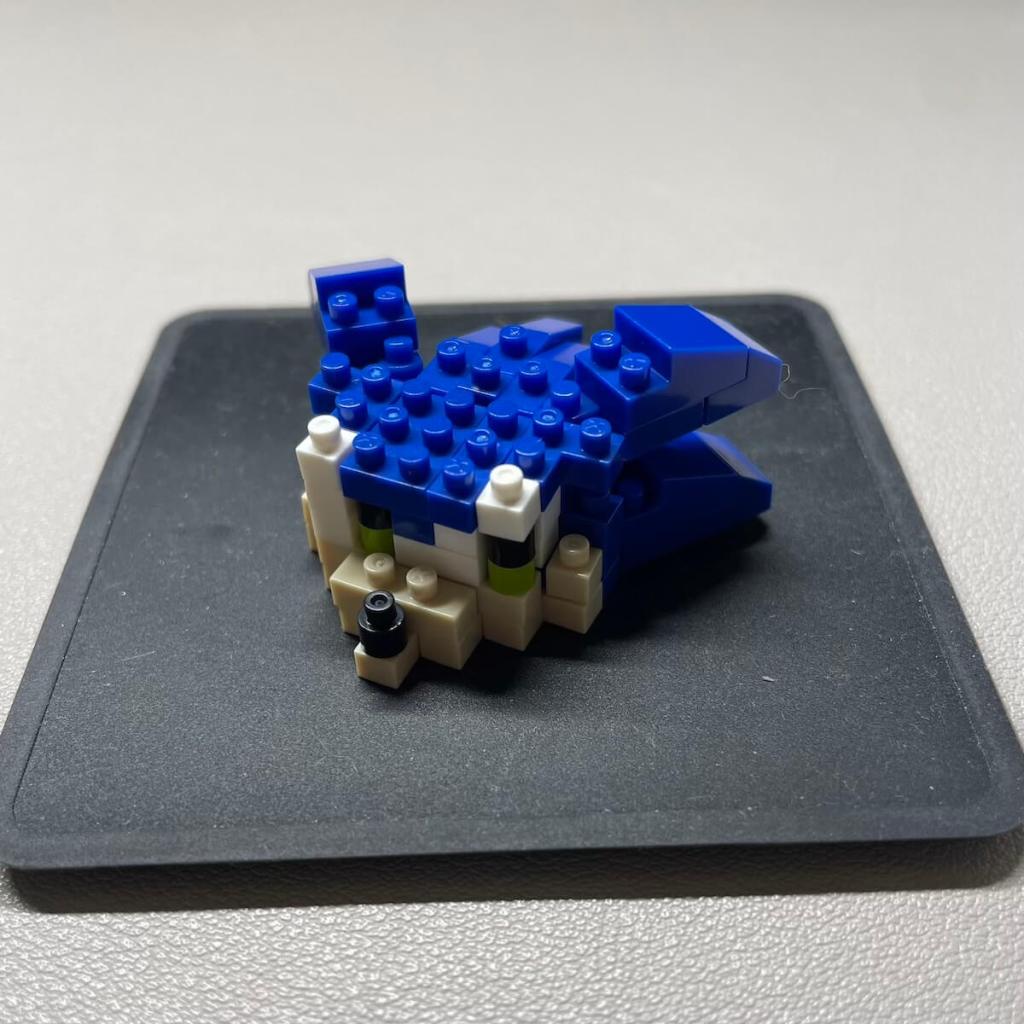
Step 10: Smooth Sailing to the Finish
This step was a breeze. Dealing with 1×1 bricks can often be a pain, but it’s a necessary evil in many builds. With this step, I completed the construction of Sonic’s head.
Step 11: Moving on to Sonic’s Torso
Entering a new section, I was grateful for the Nanoblock pad’s assistance. This step was simple and straightforward, marking the start of Sonic’s torso.
Step 12: A Momentary Pause in the Instructions
The actual steps themselves were easy, but the instructions gave me a moment of pause. Sometimes Nanoblock instructions break my brain, and alas this was one of those times. Thankfully, the soldiers in my brain were able to put Humpty Dumpty back together again and I was able to complete this step.
Step 13: Balancing Act
While not particularly tricky, things started getting a bit wobbly again in this step. There were no revisions needed, and nothing broke, but I couldn’t help feeling a bit nervous throughout. I’m not sure if it made me more cautious or if the step was genuinely easy.
Steps 14 and 15: Paying Attention to Details
This step was straightforward but required some extra care with finger pressure to ensure the more delicate pieces stayed connected. The fact that the instructions didn’t blur or lose color on previous steps made them slightly tricky to follow, especially if your eyesight isn’t perfect.
Step 16: Precision is Key
Placing the head on the body required precision. I had to reposition Sonic’s hand, as it seemed a bit too close to his face. This improved the overall look but did make the model a tad more fragile.
Step 17: Second Hand and More Stability
In this step, I built the second hand and added a clear platform for extra stability.
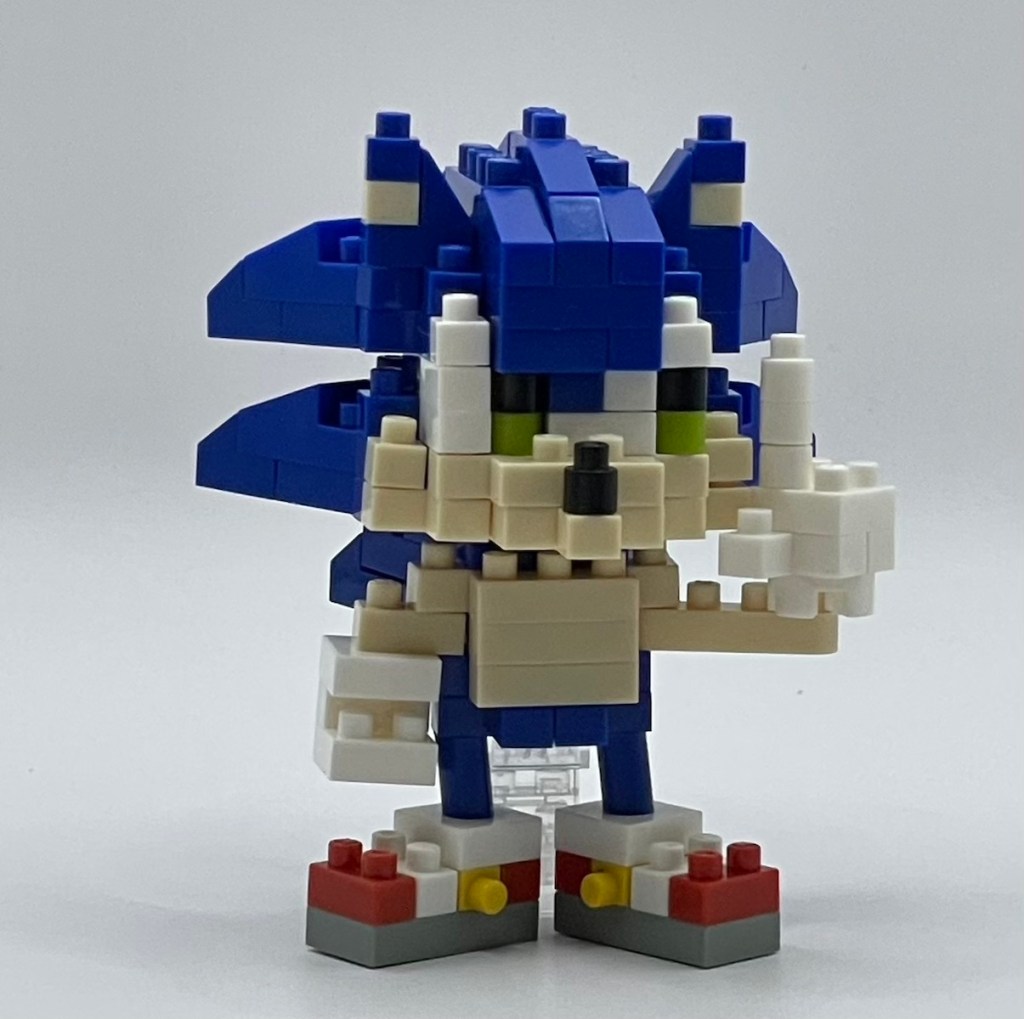
Step 18: Bringing Sonic to Life
The final steps involved constructing Sonic’s shoes and legs. I did have to make a small adjustment to the placement of the clear stability stand, but it was an easy fix. The legs, although somewhat delicate, seemed to hold up well.
Final Thoughts: A Fusion of Classic and Modern
In conclusion, this Nanoblock set offers a somewhat challenging build, mainly due to those angled quills. The end result is undeniably appealing. Sonic here is a perfect blend of modern and classic aesthetics. His green eyes bring to mind the modern Sonic, while his pudgy body invokes a classic vibe. His classic pose pays homage to the ’90s and the original Sega Genesis title screens, where he playfully waved his finger. There’s a whole lot of that classic ’90s attitude built into this model.
However, I must emphasize that this set isn’t the best choice for beginners. The fragility of certain parts, combined with the intricate design, can be a bit frustrating if you’re new to Nanoblock building. Intermediate builders, on the other hand, will likely find it to be an enjoyable challenge.
In the end, the Sonic Nanoblock Set is a fantastic addition for fans of the iconic blue hedgehog who want to showcase their love for Sonic in a unique and intricate way. Whether you’re a fan of classic Sonic or modern Sonic, this set offers a delightful mix of both, making it a must-have for Sonic enthusiasts and seasoned Nanoblock builders alike.

You must be logged in to post a comment.