
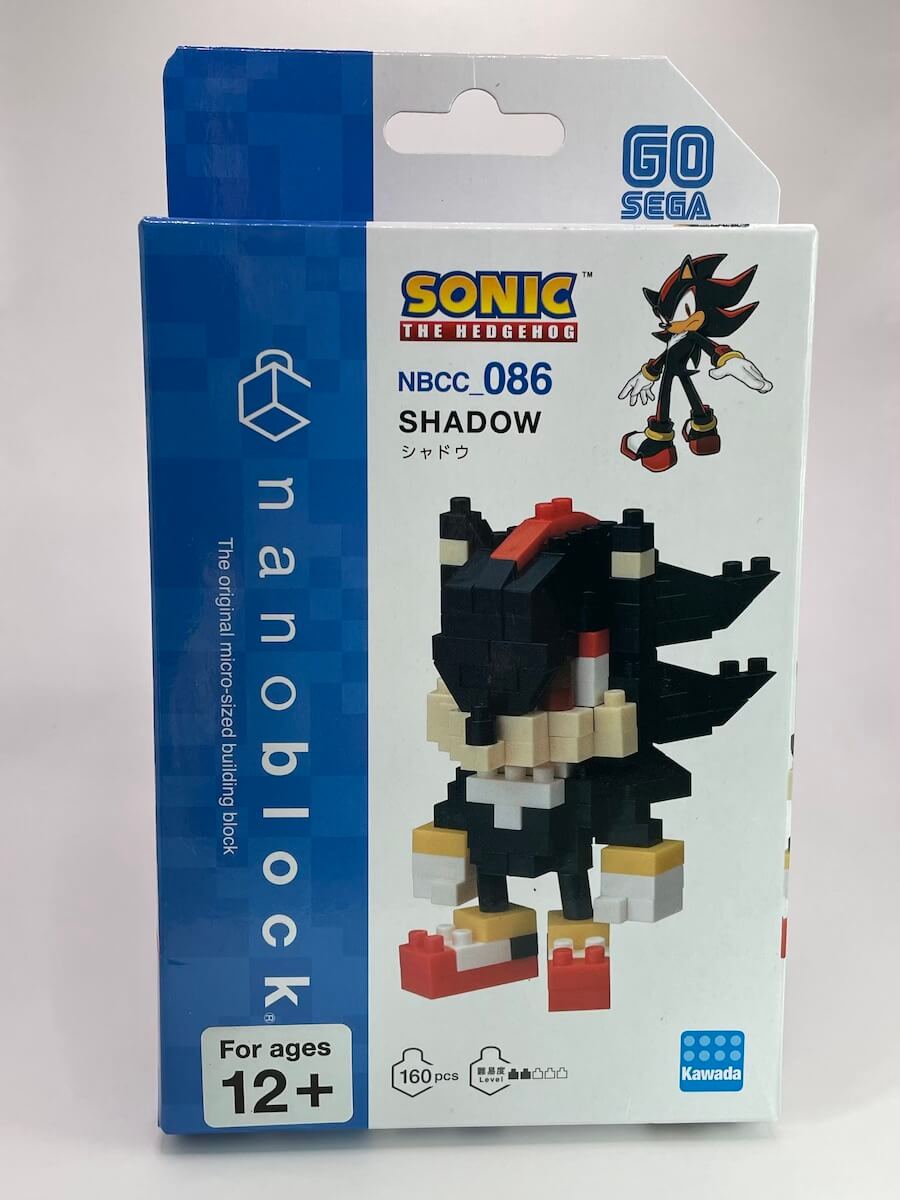
Building Tails from Nanoblocks: An Adventure in Precision
If you’re a fan of the iconic Sonic the Hedgehog series, you’ll be delighted to know that Tails, Sonic’s loyal companion, is also available as a Nanoblock set. Just like Sonic, constructing this adorable two-tailed fox is a journey filled with intricate details and challenges. Join me as we go through the step-by-step process of building Tails. I’ll also share my thoughts on each stage of this build as I follow the included instructions.
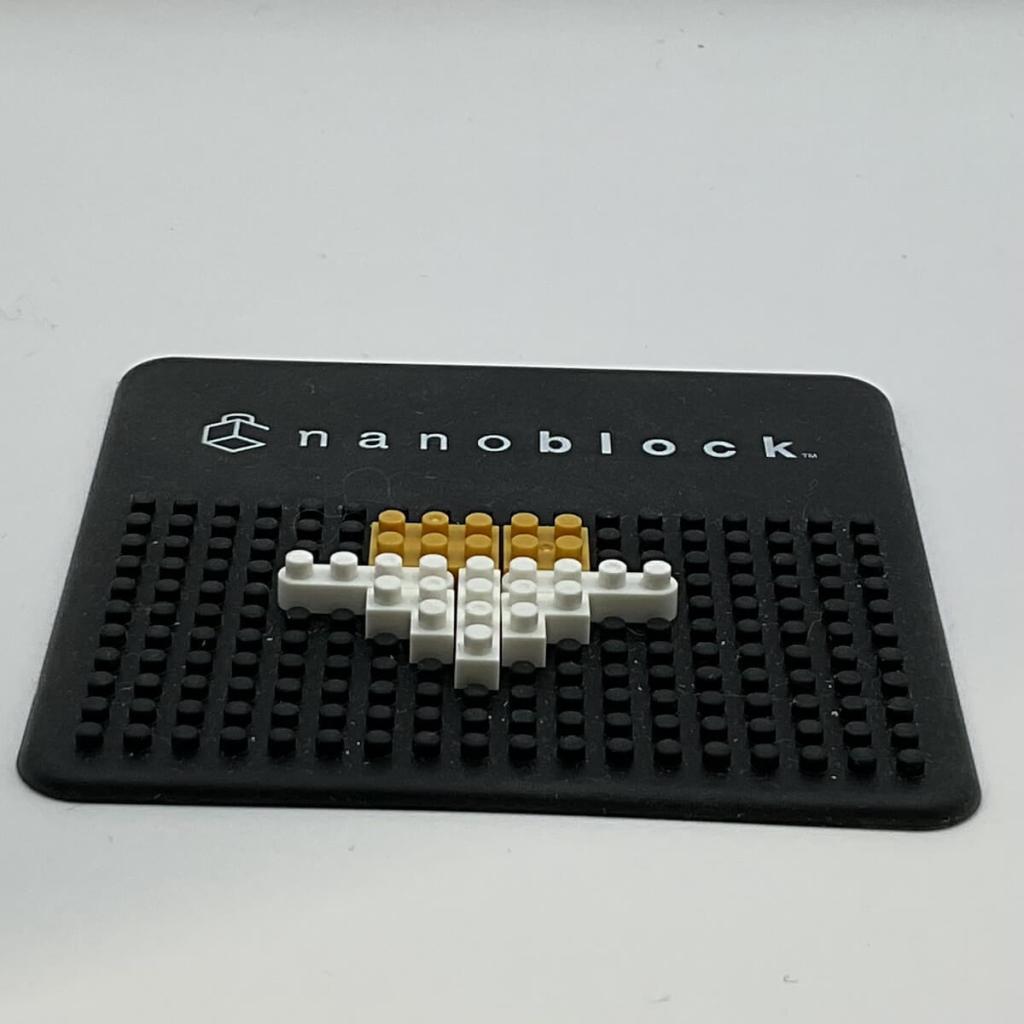
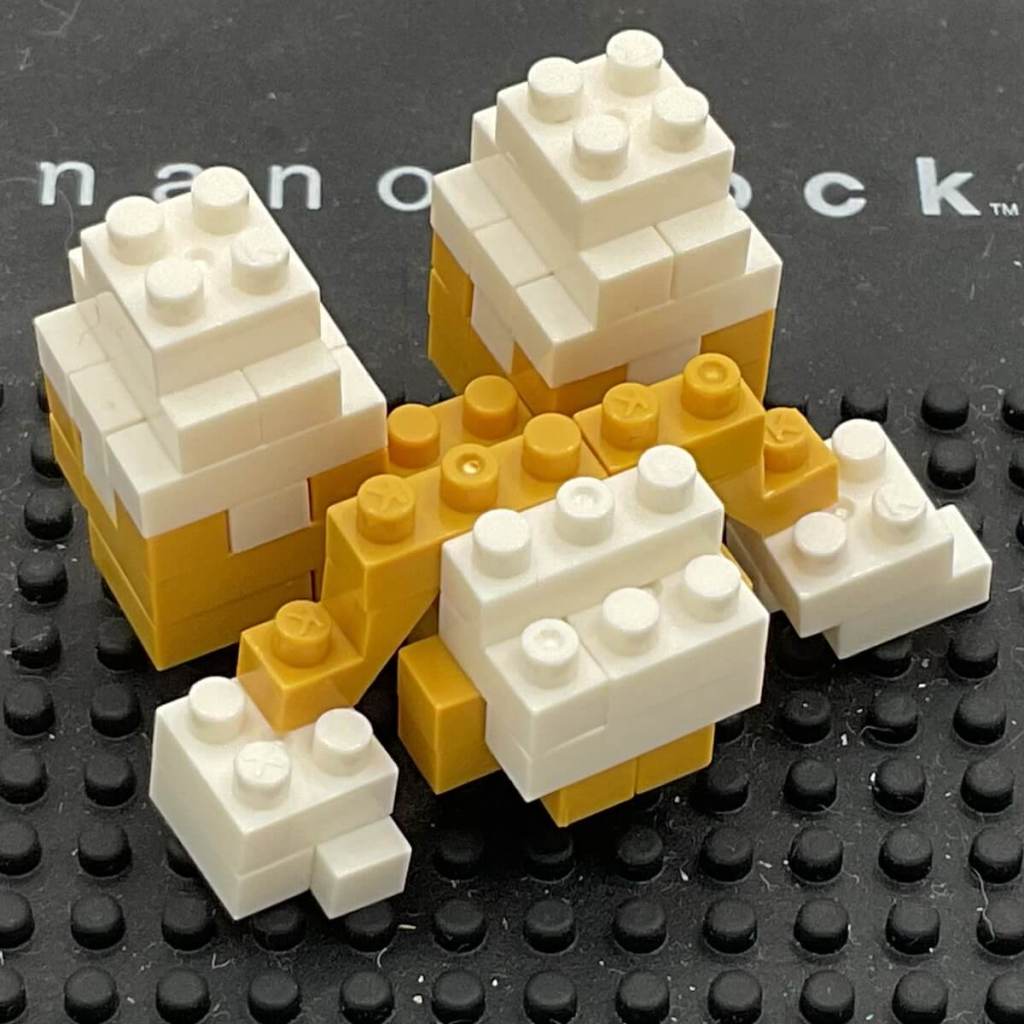
Step 1: A Smooth Start
Unlike Sonic’s headstrong beginning, Tails starts on a more manageable note. With the help of the Nanoblock pad, this step is straightforward and provides a solid foundation for the build.
Step 2: Stabilizing the Base
Continuing with the Nanoblock pad, Step 2 further stabilizes the model. It’s worth noting that if you don’t have a pad or a similar tool, it might be wise to approach Steps 1 and 2 simultaneously. The focus remains on the head, much like the Sonic model.
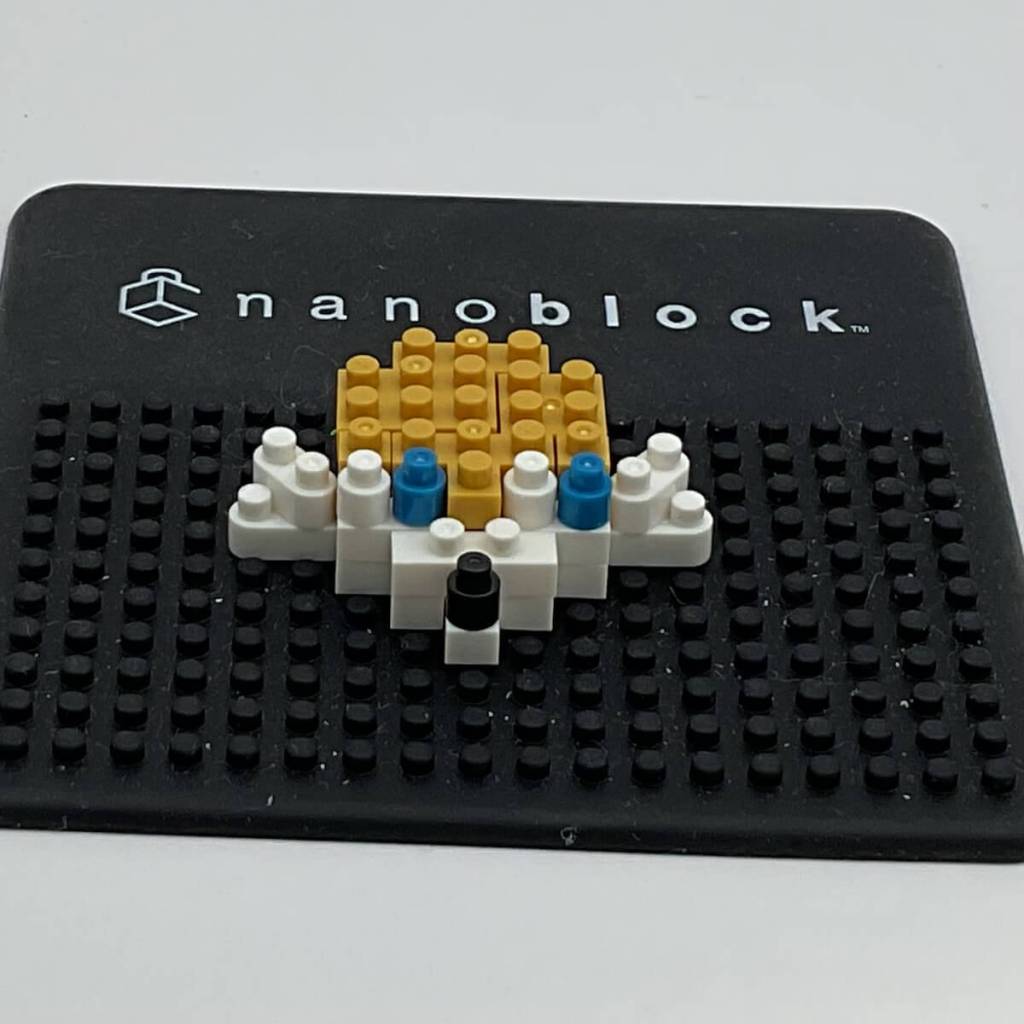
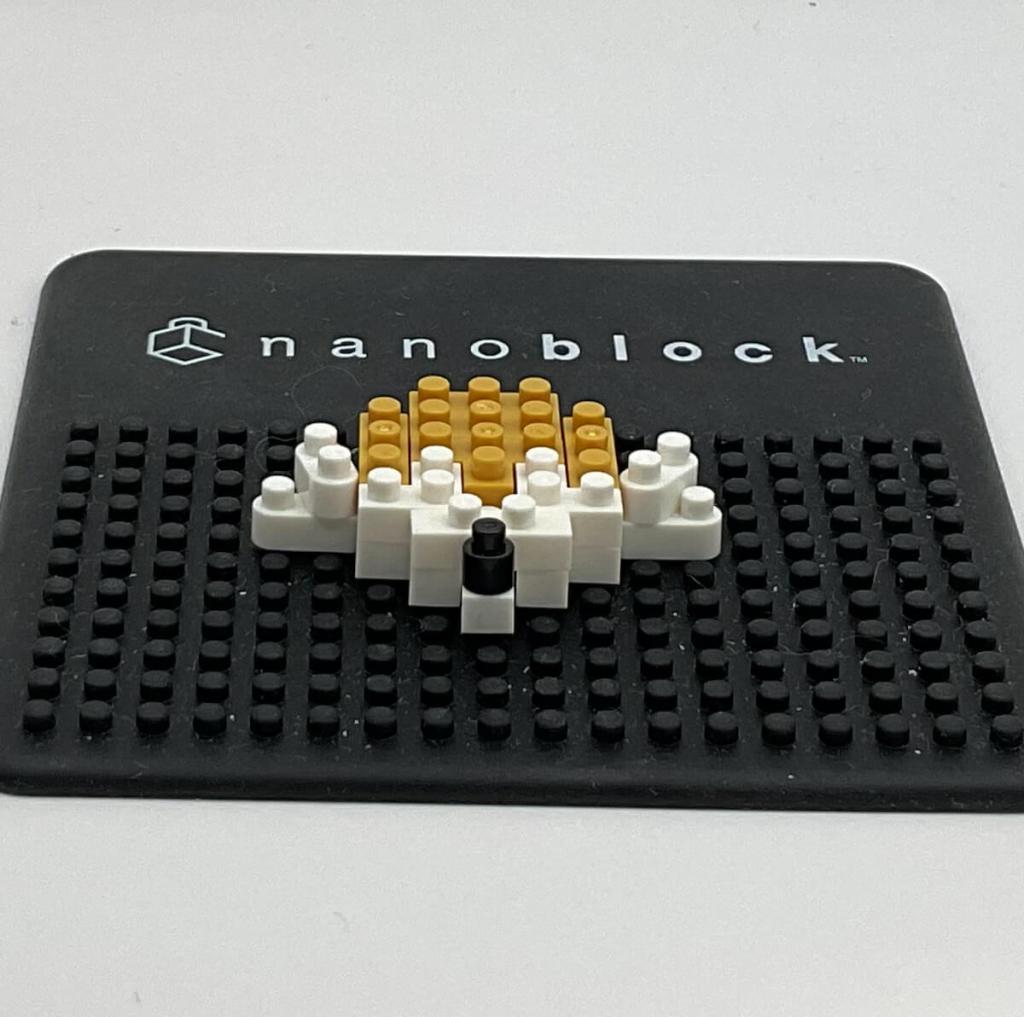
Step 3: Building the Eyes
Step 3 is another simple and straightforward layer. You start building Tails’ adorable blue eyes, reminiscent of his classic side-eye expression. No major challenges so far.
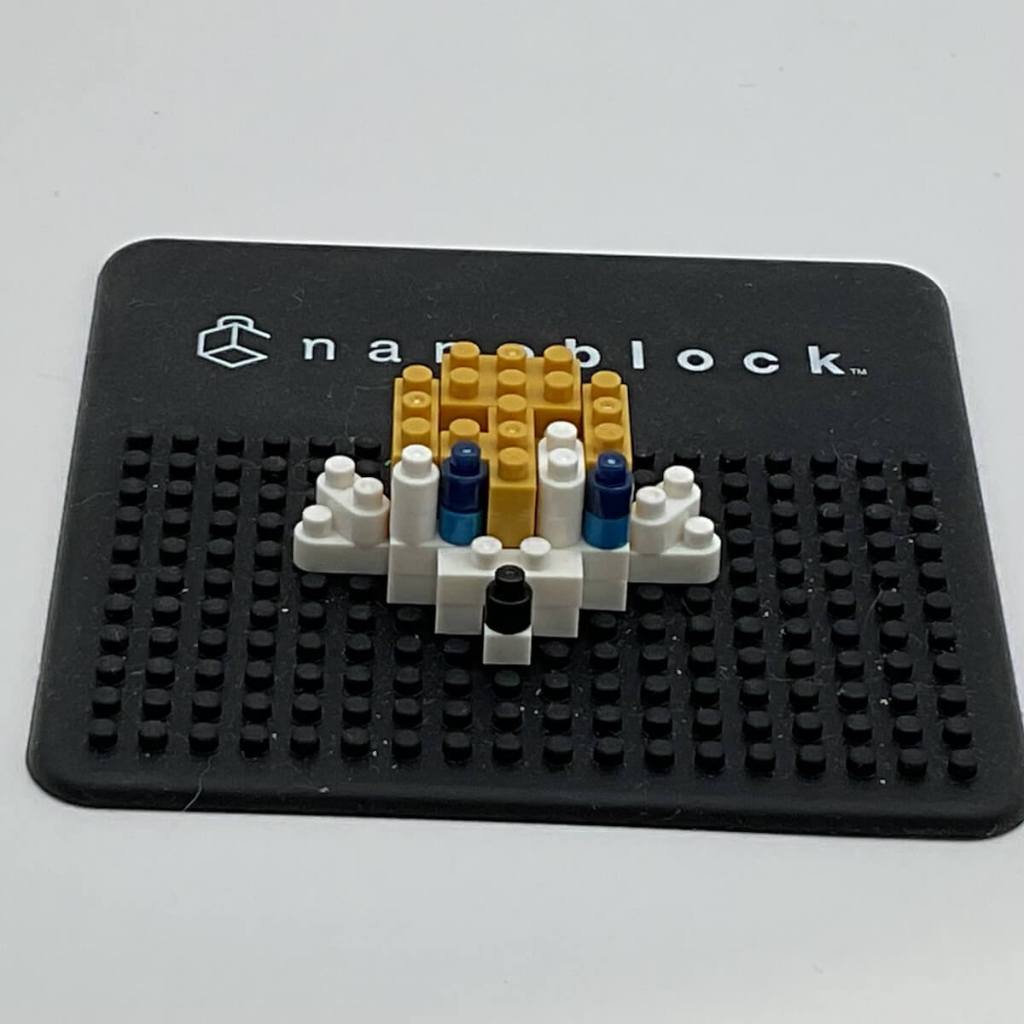
Step 4: A Smooth Continuation
Step 4 maintains the ease of construction with no significant difficulties to report. The process is smooth, and the model continues to take shape.
Step 5: Completing the Eyes
Finishing Tails’ eyes with rounded white 2×1 bricks is the goal of this step. Building sequentially, from the eyes up to the head, was our chosen approach. However, starting with the 4-studded tetrimino piece and using it as a reference might have made this step a bit easier, especially for precise placement of the three 2×1 bricks in the center.

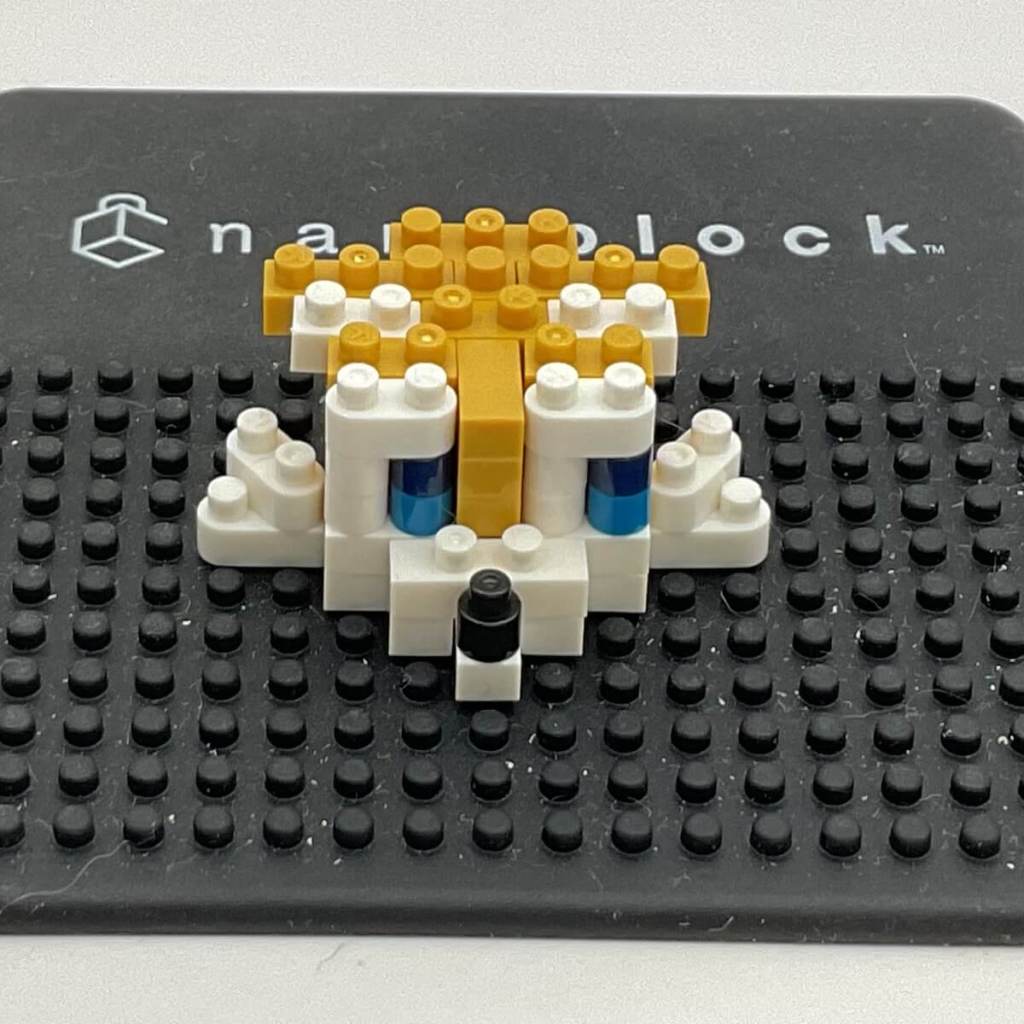
Step 6: Constructing the Ears
As we move on to Step 6, things start to get a bit tricky. Building this step from the counter-outwards provides better stability, particularly for the more delicate 1×1 bricks towards the end. The focus here is clearly on building up Tails’ distinctive ears.
Step 7: Clearer Instructions Needed
Step 7 is not inherently tricky, but it highlights the need for clearer instructions regarding which bricks are required for each step. While all the necessary information is provided, the already completed ‘greyed-out’ sections can be confusing, especially for those with less-than-perfect eyesight.

Step 8: Fragility Emerges
As we progress, Step 8 introduces some fragility to the model. The left ear came loose once but was easily fixed. It’s a reminder to handle Tails with care, especially as the build becomes more intricate.
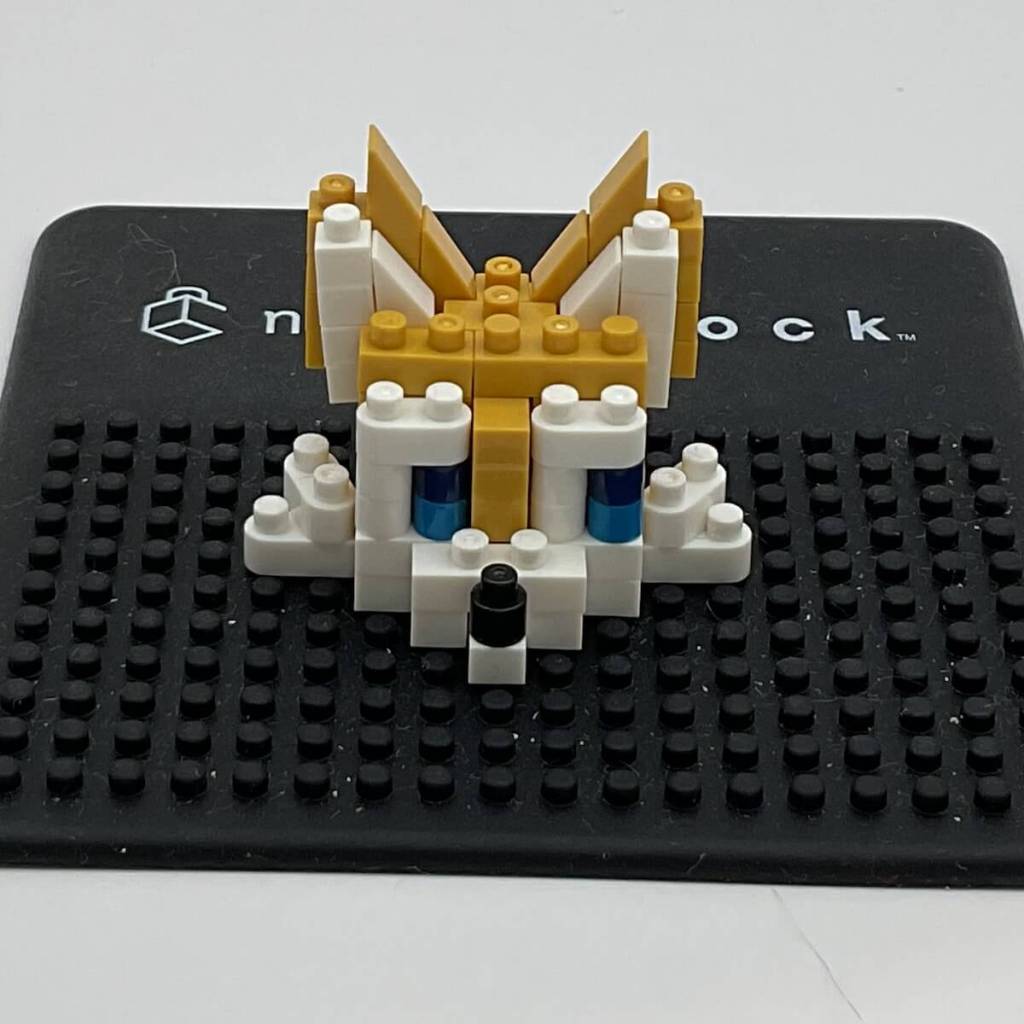
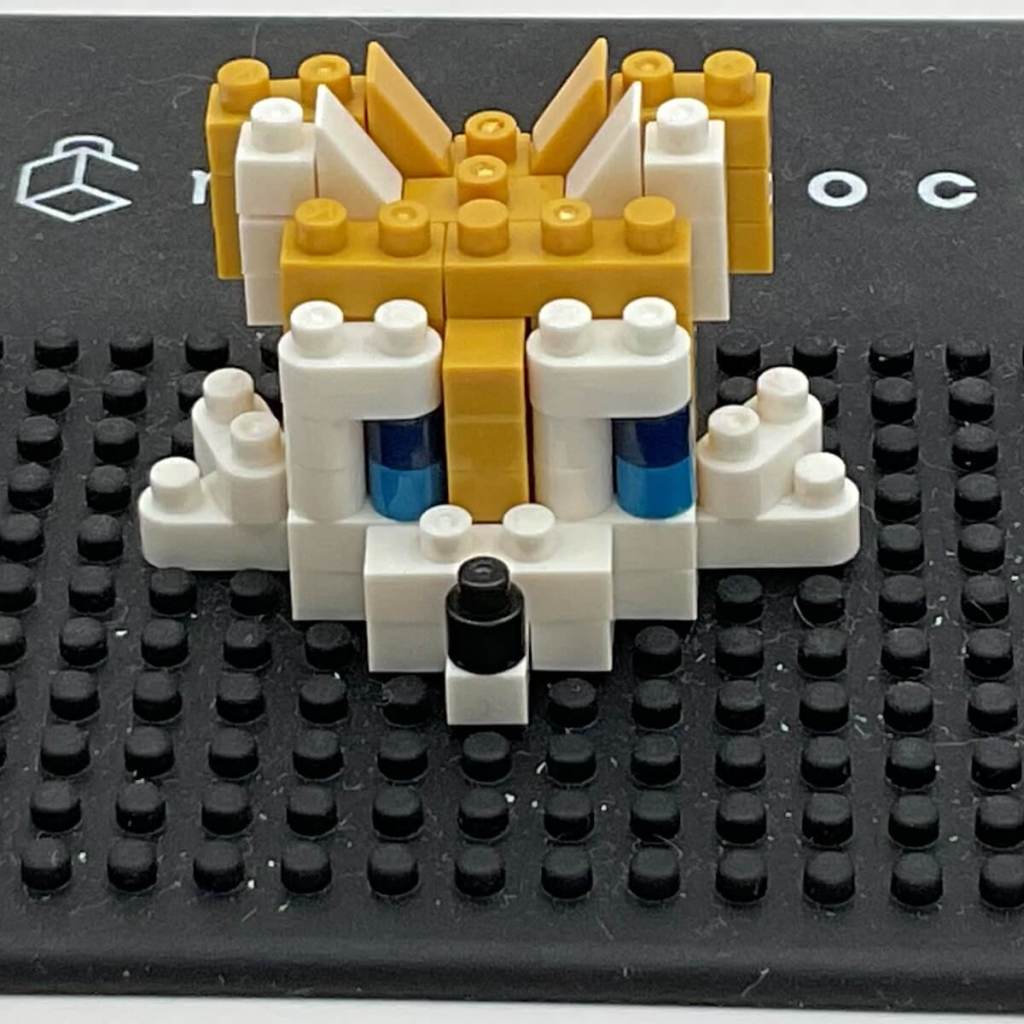
Step 9: Stability Concerns
Step 9 appears straightforward on paper but is tricky in practice. The ears remain somewhat unstable, with the white parts being particularly vulnerable. You might even consider removing the white parts of the ears entirely, as they are prone to popping off when you attempt to place the white 1×1 bricks on the tips. Fortunately, the white part of the ears is easily reattached to the head.
Step 10: Precision Required
This step is quite similar to the previous one, but it involves applying 1×1 bricks on the tips of the golden-yellow part of Tails’ ears. Achieving the desired stability demands finger-pressure precision.
Step 11: The Adorable Cowlick
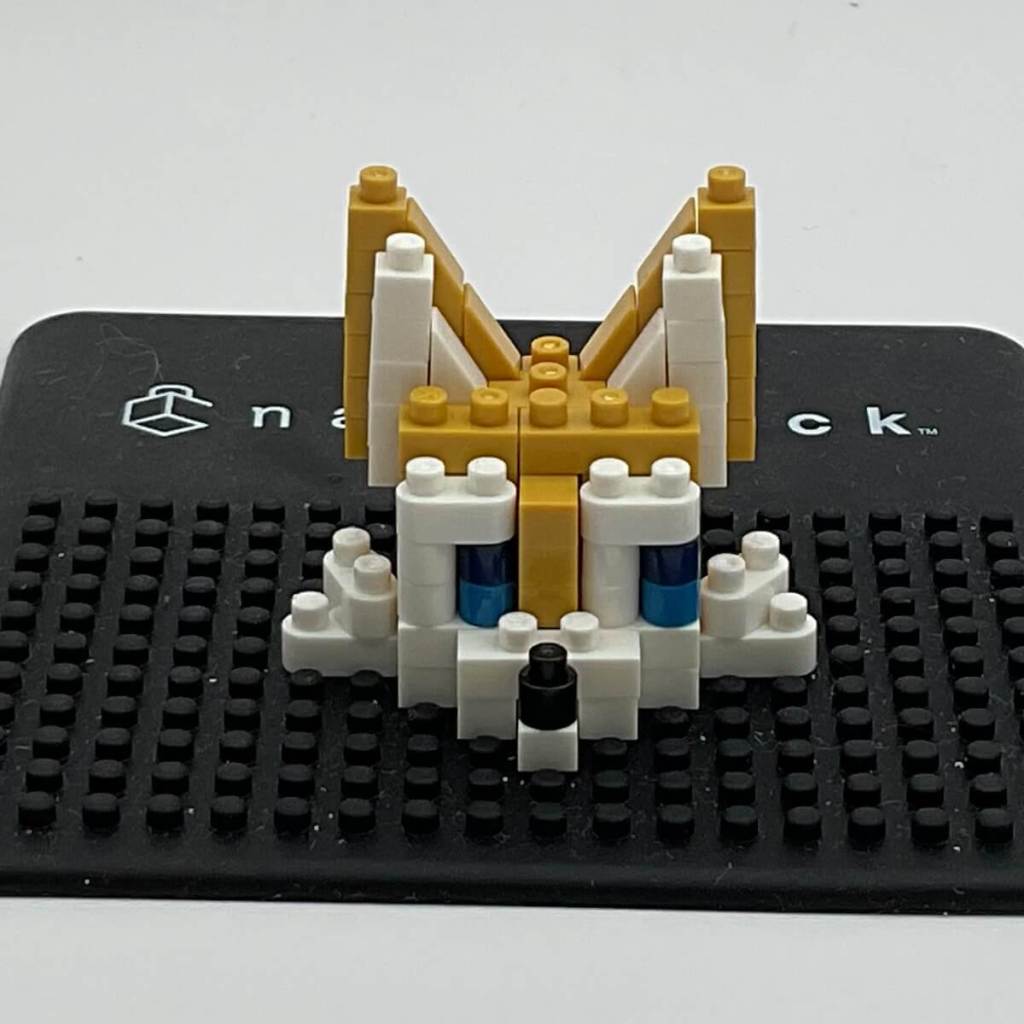
Step 11 adds Tails’ signature cowlick, cleverly constructed from three bricks. It’s an adorable addition to the model, even though it can be a bit flimsy in practice. This step marks the conclusion of the build for Tails’ head.
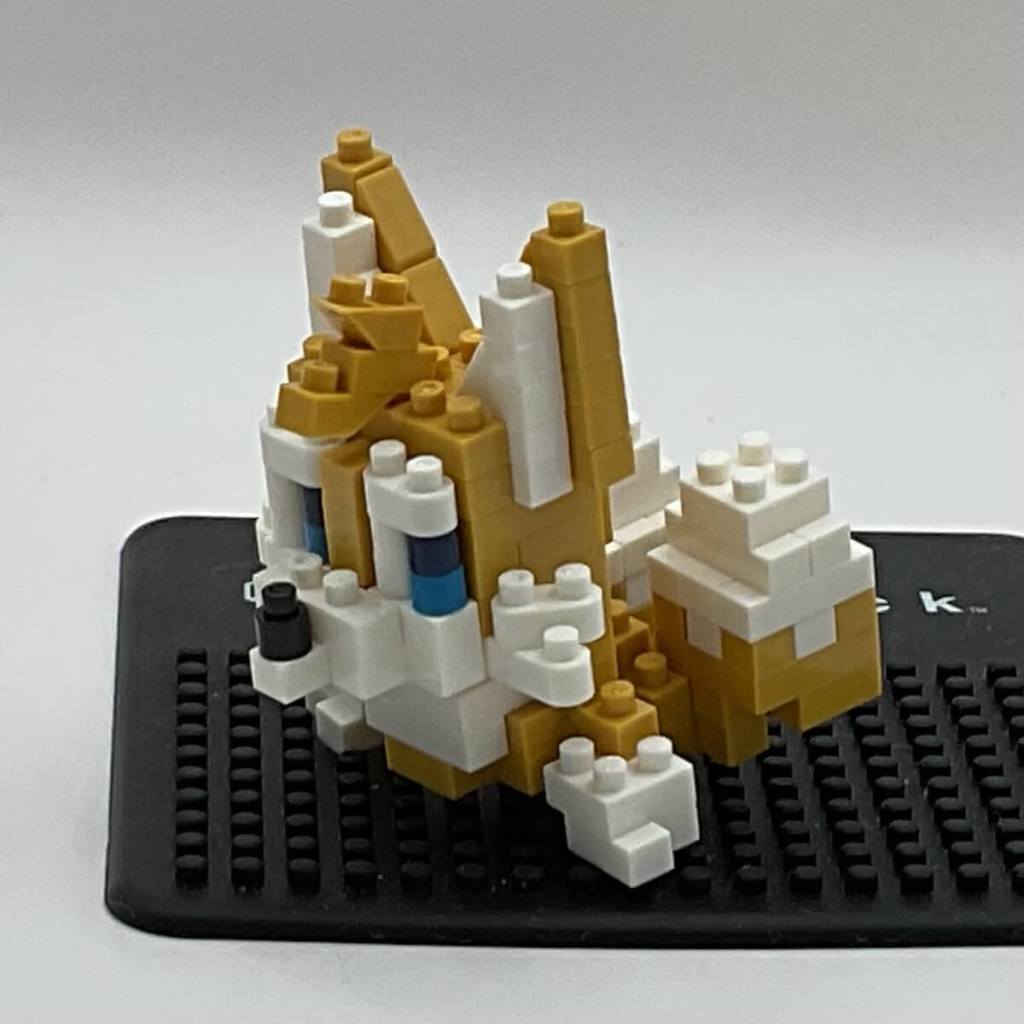
Step 12: Tackling the Torso and Tails
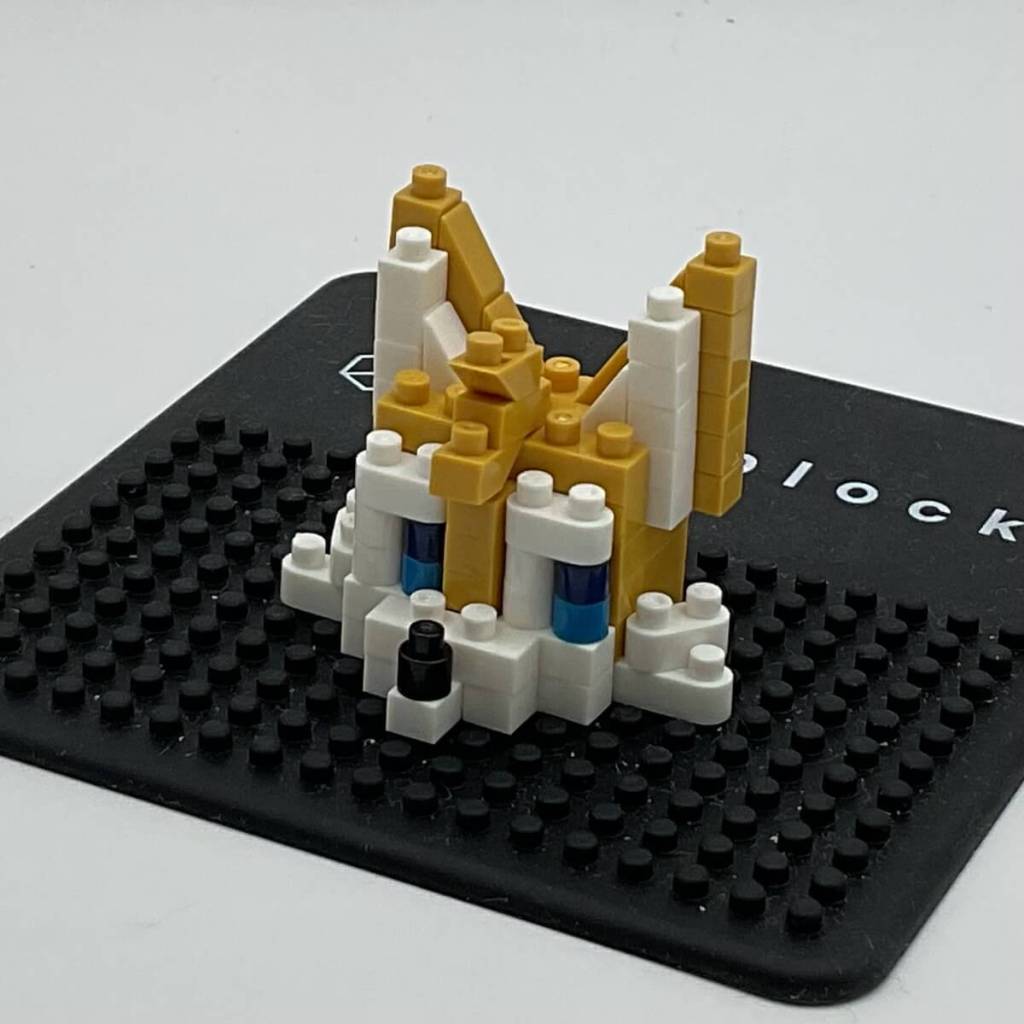
Transitioning to Step 12, we begin constructing Tails’ torso and tails, following the pattern of building from the bottom up, just like we did with the head. This step details two layers, a multi-step approach that could have made the initial stages more coherent for beginners.

Step 13: Dual-Layer Complexity
Step 13 continues the dual-layer approach, although, ironically, the stability of the first layer is not dependent on the top layer. The top layer, in particular, is somewhat fragile, especially around the two tail sections. This is where careful handling becomes crucial.
Step 14: Continuing the Build
Step 14 sees us continuing to build up Tails’ torso and the two tail sections. The process remains relatively straightforward, despite the two-layer structure.

Step 15: The Trickiest Challenge
Step 15 proves to be the trickiest challenge in the entire build. It requires turning the torso and tails section upside down to add a bottom layer, which provides much-needed stability and locks previously fragile sections into place. However, the sequence recommended by the instructions can be frustrating, and the model may break during several attempts, particularly the two tail sections. The instructions rightly emphasize the need for extreme caution during this step.

Step 16: Constructing Tails’ Arm
Step 16 focuses on building one of Tails’ hands. As expected, things become somewhat flimsy again. The arm attaches via a single stud connection, making it less secure than desired. The white glove section is particularly prone to falling off.
Step 17: Repeat Performance
Step 17 essentially repeats the previous step with the same concerns. This time, it builds Tails’ other arm and hand, with the same single-stud attachment that compromises stability. The arm pieces themselves are quite delicate.
Step 18: The Final Integration
Step 18 involves attaching Tails’ body to his torso. This is where things started falling apart for us. Notably, the two tail sections, the arms, and the cowlick frequently came loose. These sections, held together by a single stud, proved to be less secure than desired.
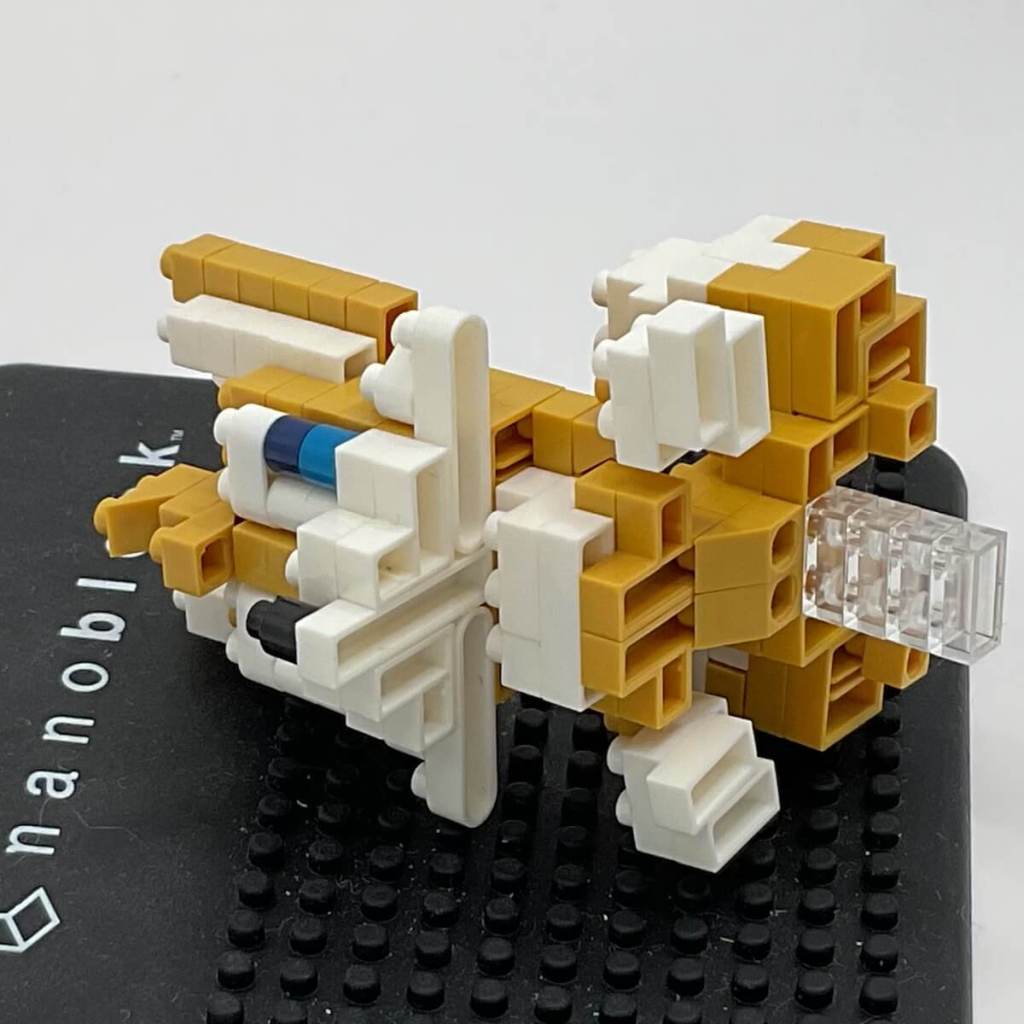
Step 19: Stability Assistance
In this step, we add four clear 2×1 bricks at the bottom to help Tails stand upright more easily. However, expect the same appendages—tails, arms, and cowlick—to frequently pop off during this step. Unfortunately, it doesn’t seem like there are any more steps to add general stability to these looser sections.
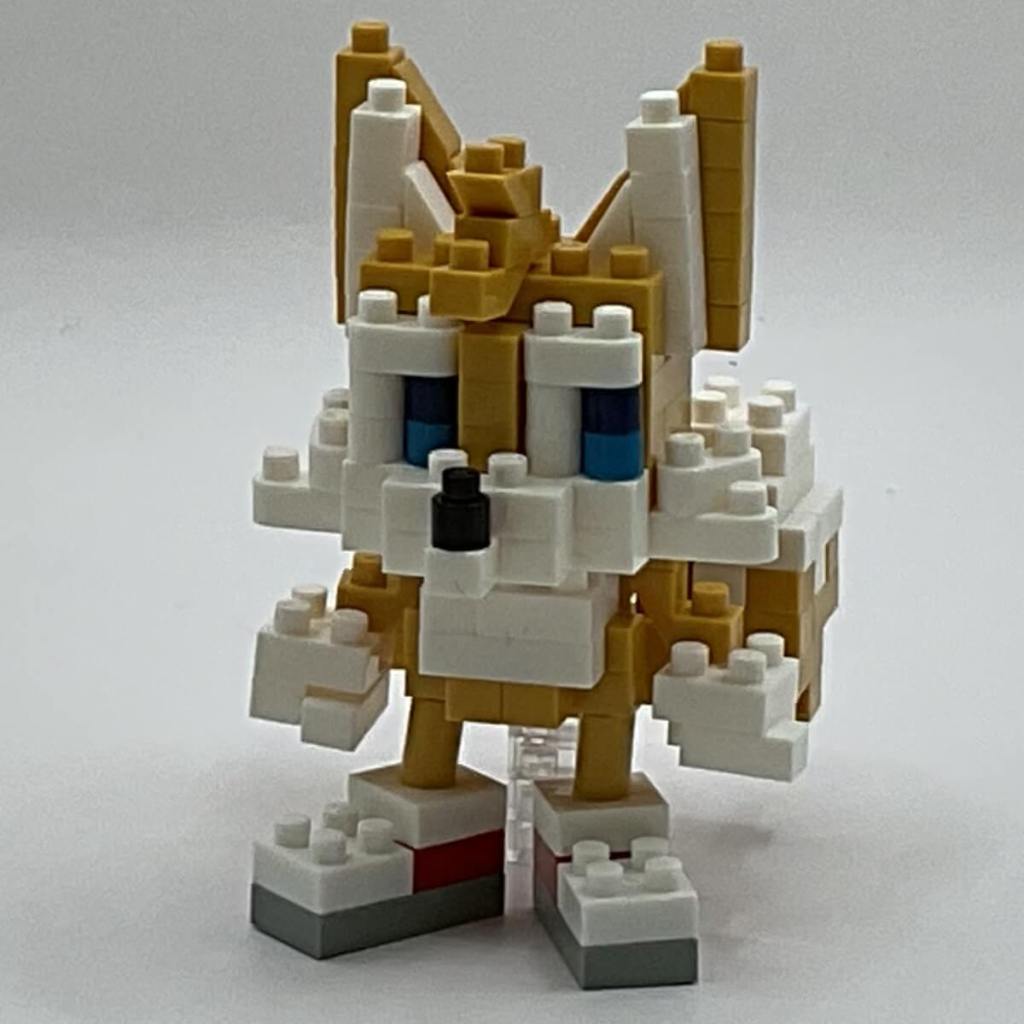
Step 20: Completing Tails
The final step, Step 20, adds Tails’ legs, concluding the build. Much like the Sonic model, the legs appear somewhat fragile but surprisingly stay on quite well. It’s the other sections, particularly the appendages, that require extra care.
Final Thoughts: Adorably Frustrating
Tails is undoubtedly a super cute model that captures the character’s innocence and overall demeanor. However, it is held back by loosely fitting sections, notably the two tails, limbs, and cowlick. This inherent fragility made the build a bit frustrating, as these sections kept popping off during construction. It also makes us wary of moving the finished piece, as Tails appears to be quite fragile. Nonetheless, his undeniable cuteness is a redeeming factor in the overall experience.

You must be logged in to post a comment.