
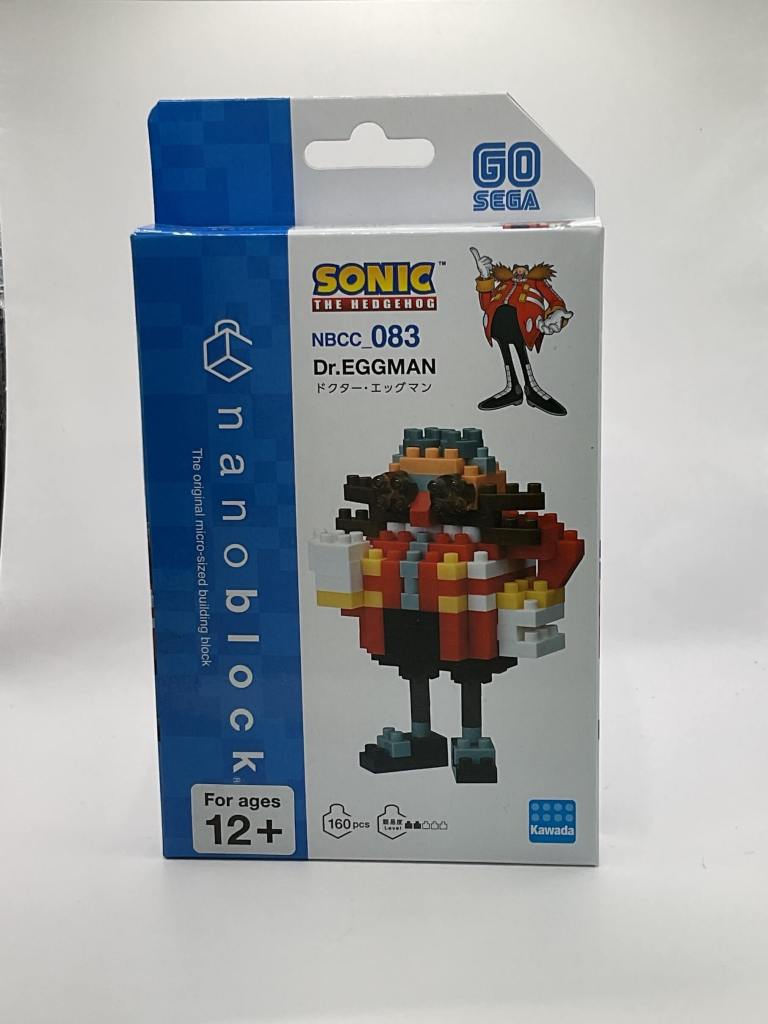
Building Dr. Eggman with Nanoblocks: A Sturdy Block Villian
For those looking to expand their collection of Nanoblock creations, the persistent villain from the Sonic universe, Dr. Eggman (or Robotnik, depending on who you ask), makes for a satisfying and entertaining little project. Join me as I dive into the step-by-step construction of this iconic character and share my thoughts on each stage of this Nanoblock build.
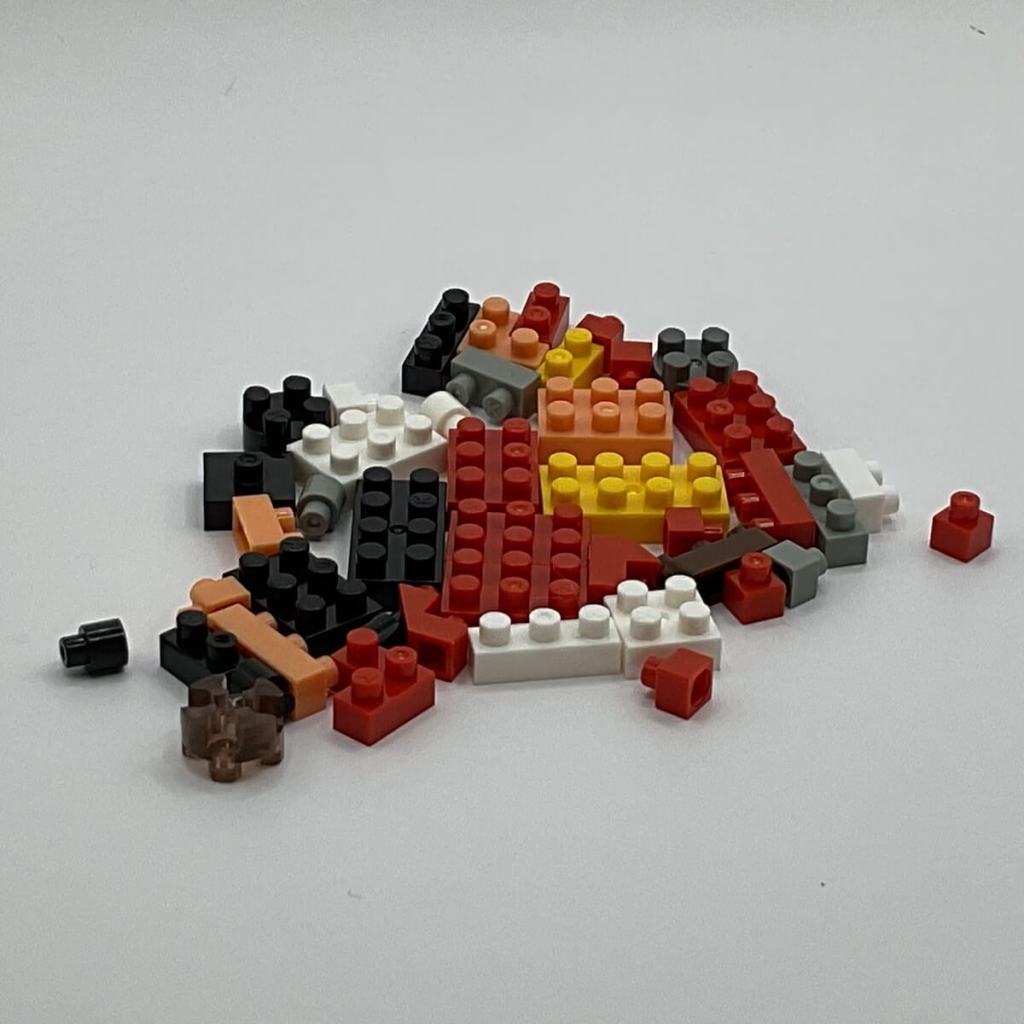
Unboxing
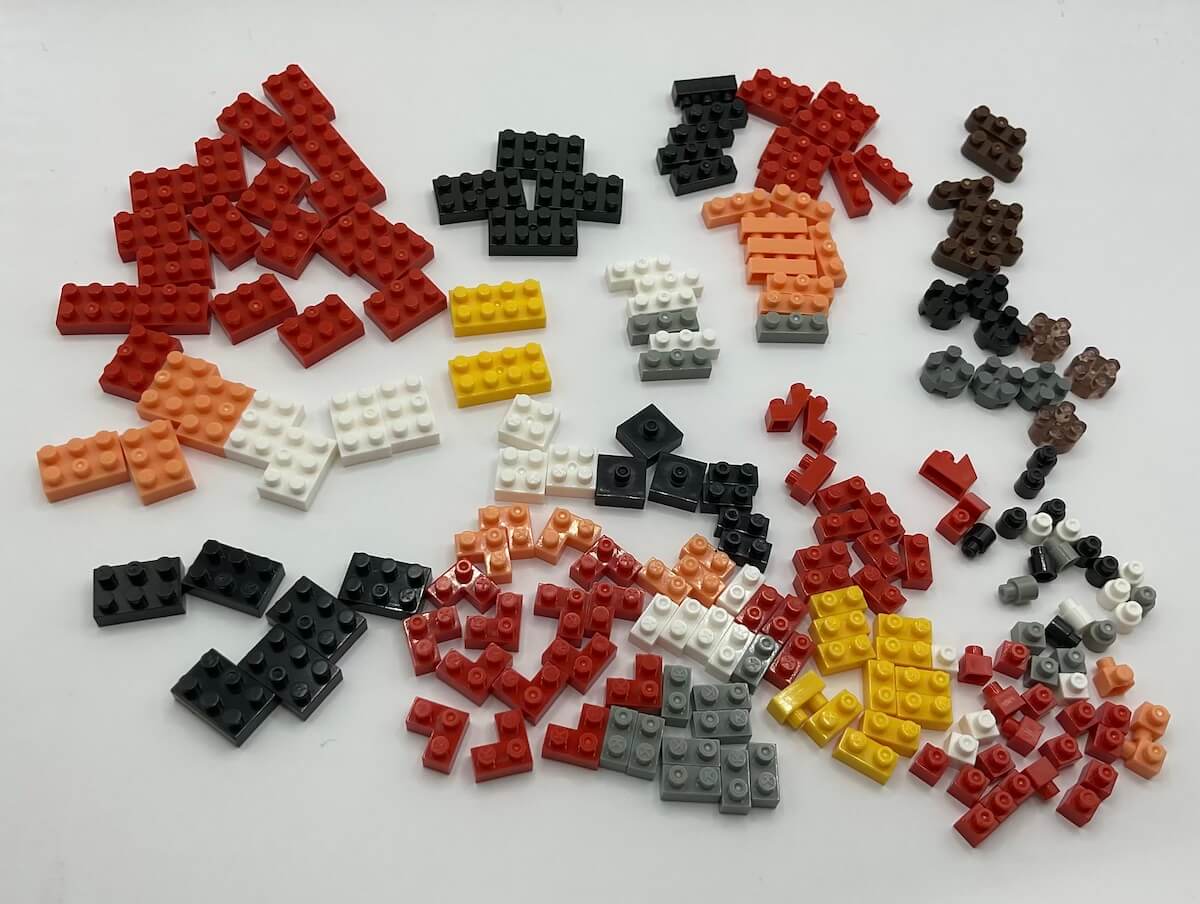
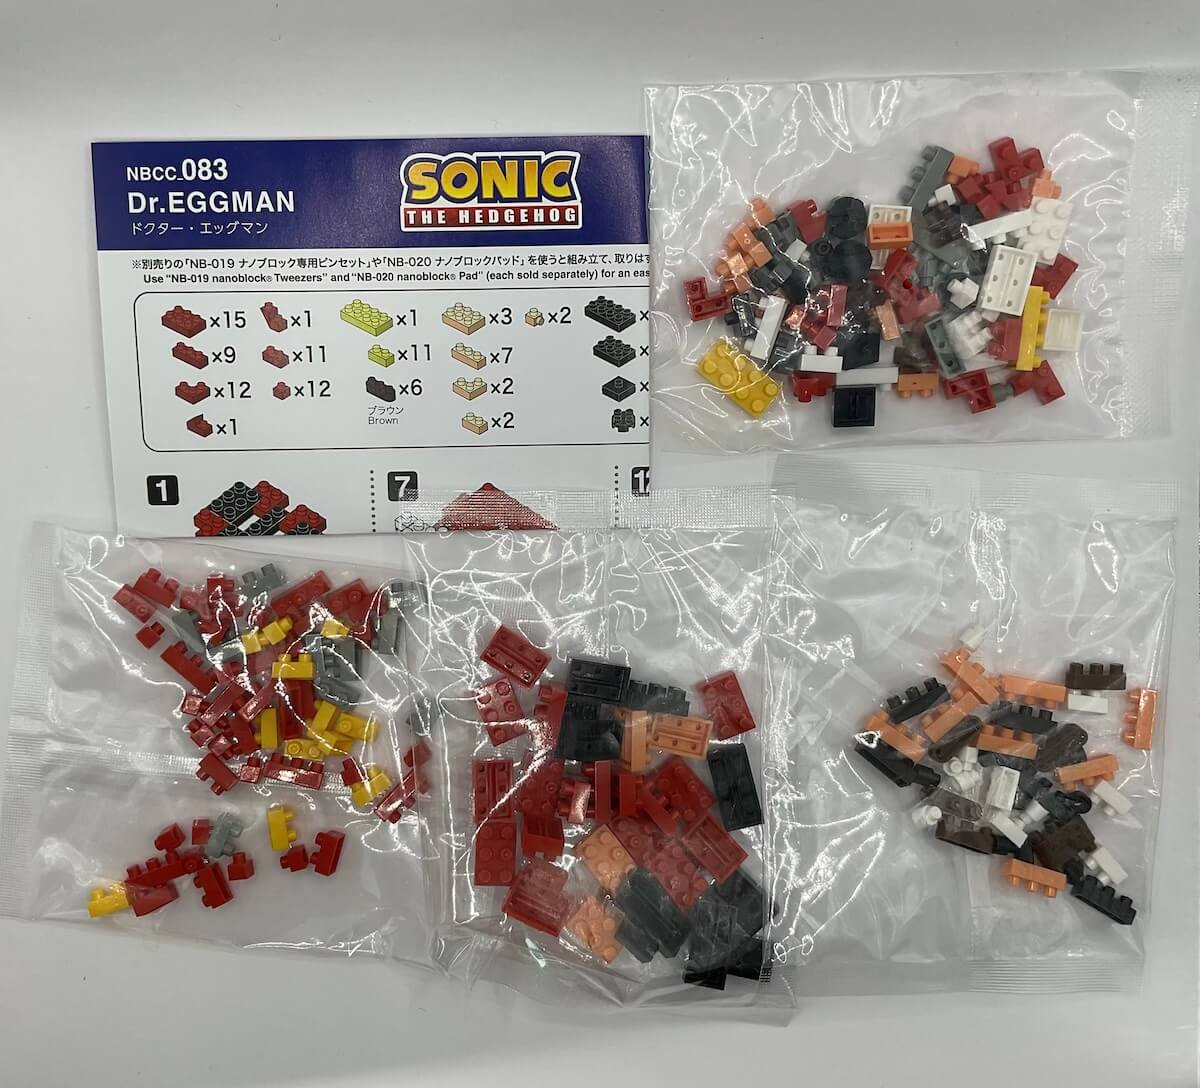
Opening the box, we find 4 bags of Nanoblocks and one-page instructions on how to build the Eggman figure.

Step 1: A Straightforward Beginning
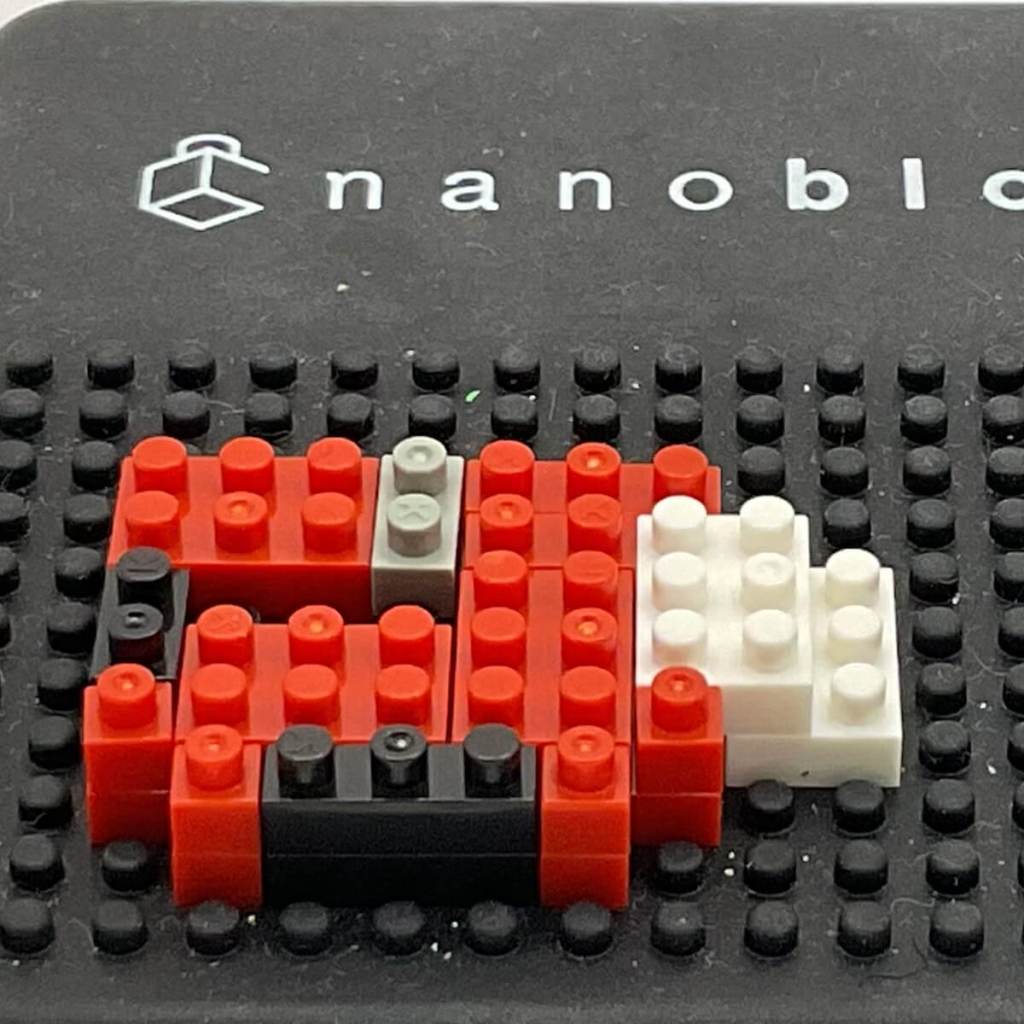
Dr. Eggman’s construction starts on a straightforward note with a single-layer step. The Nanoblock pad proves to be a valuable tool, making this step even more accessible. Without the pad, tackling both Steps 1 and 2 simultaneously is possible but not as enjoyable. Notably, Eggman’s build begins from the torso, which sets it apart from the Sonic and Tails models that both started with their heads. The classic Eggman colors immediately catch the eye, setting the tone for the rest of the build.
Step 2: Smooth Progression
Moving on to Step 2, we encounter another uncomplicated layer that’s made even easier with the nanoblock pad. While the 1×1 blocks can be a tad annoying to work with, this is a common issue with many models. It’s advisable to save placing them until the end since they can be challenging to straighten without reference points.
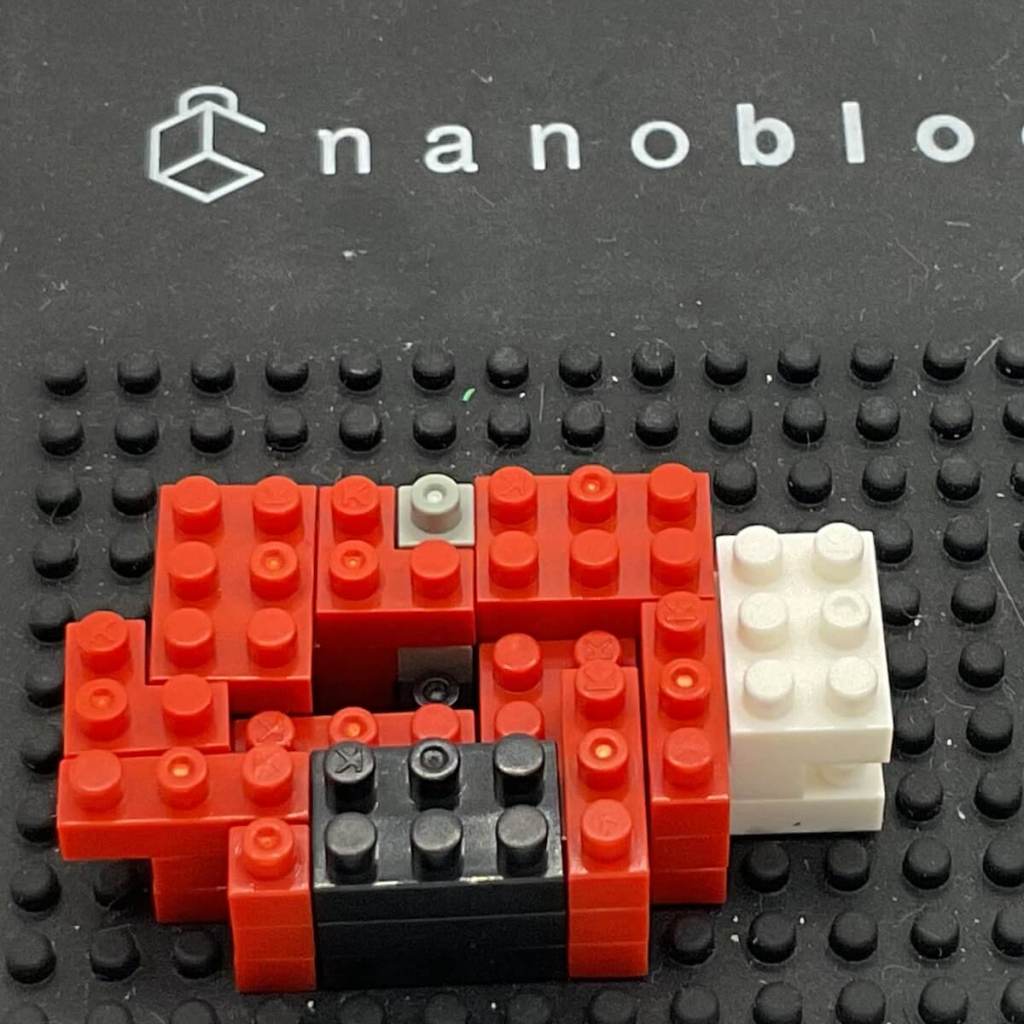
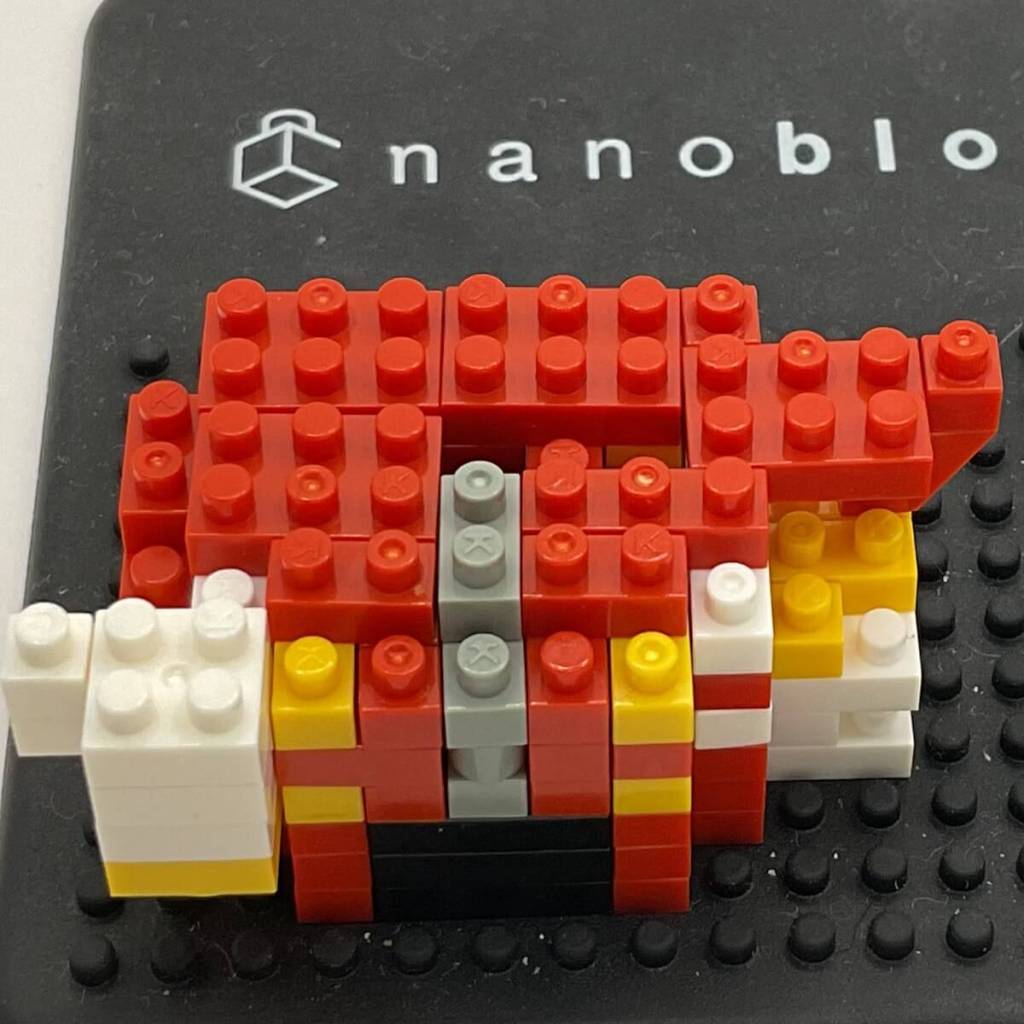
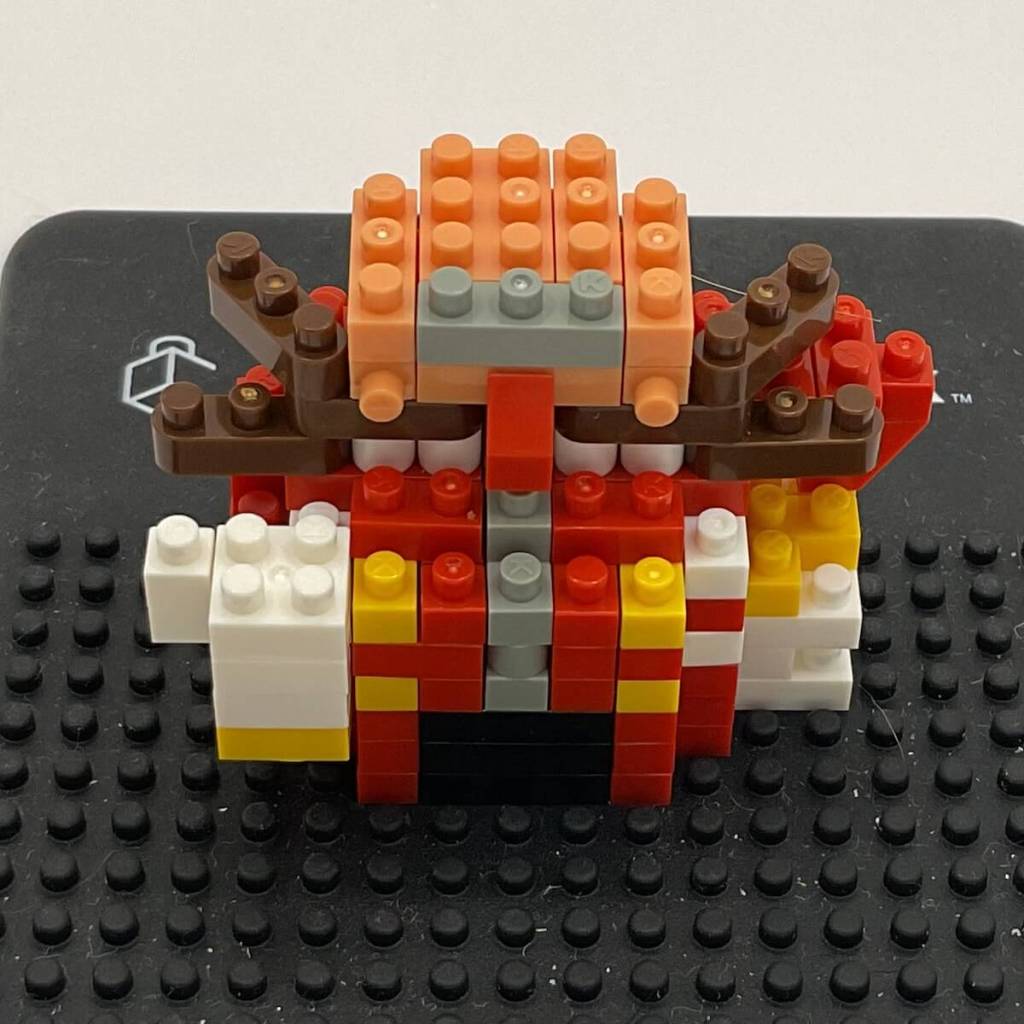
Step 3: Welcome Stability
In Step 3, we find another straightforward layer with no surprises or significant challenges. It’s worth noting that Eggman’s arm is cleverly built into the torso, a design choice that offers added stability. This is a welcome feature, especially after the flimsy limbs encountered in the Tails build.
Step 4: Enjoyable Brick Patterns
This single-layer Step 4 presents no major hurdles and allows for the enjoyment of creating 2×1 brick patterns that enhance the overall look of the model.
Step 5: A Glimpse of the Future
Step 5 introduces a single-layer section that hints at what’s to come. We begin to wonder if a future step will address the stability concerns related to this piece. Given the experience with the Tails model, there’s a concern that it might end up as flimsy as a single stud connection.
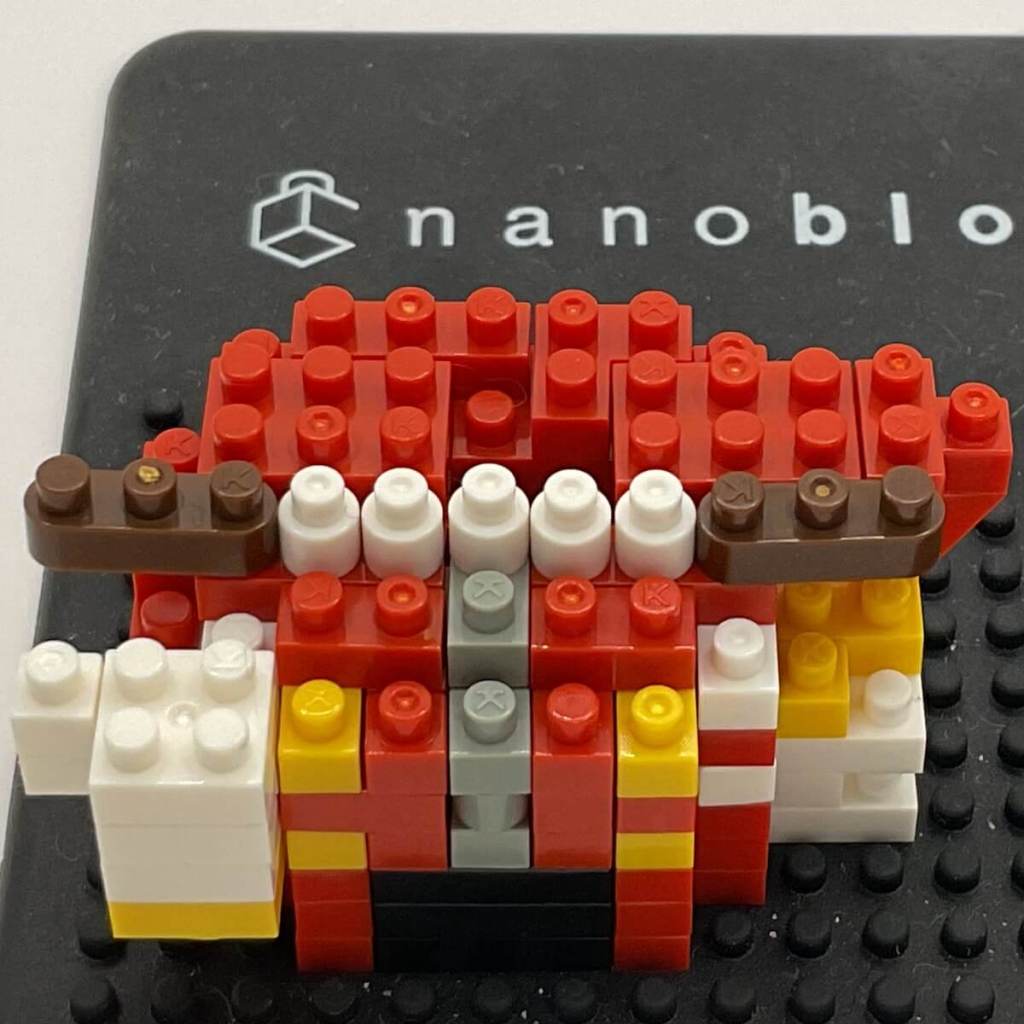
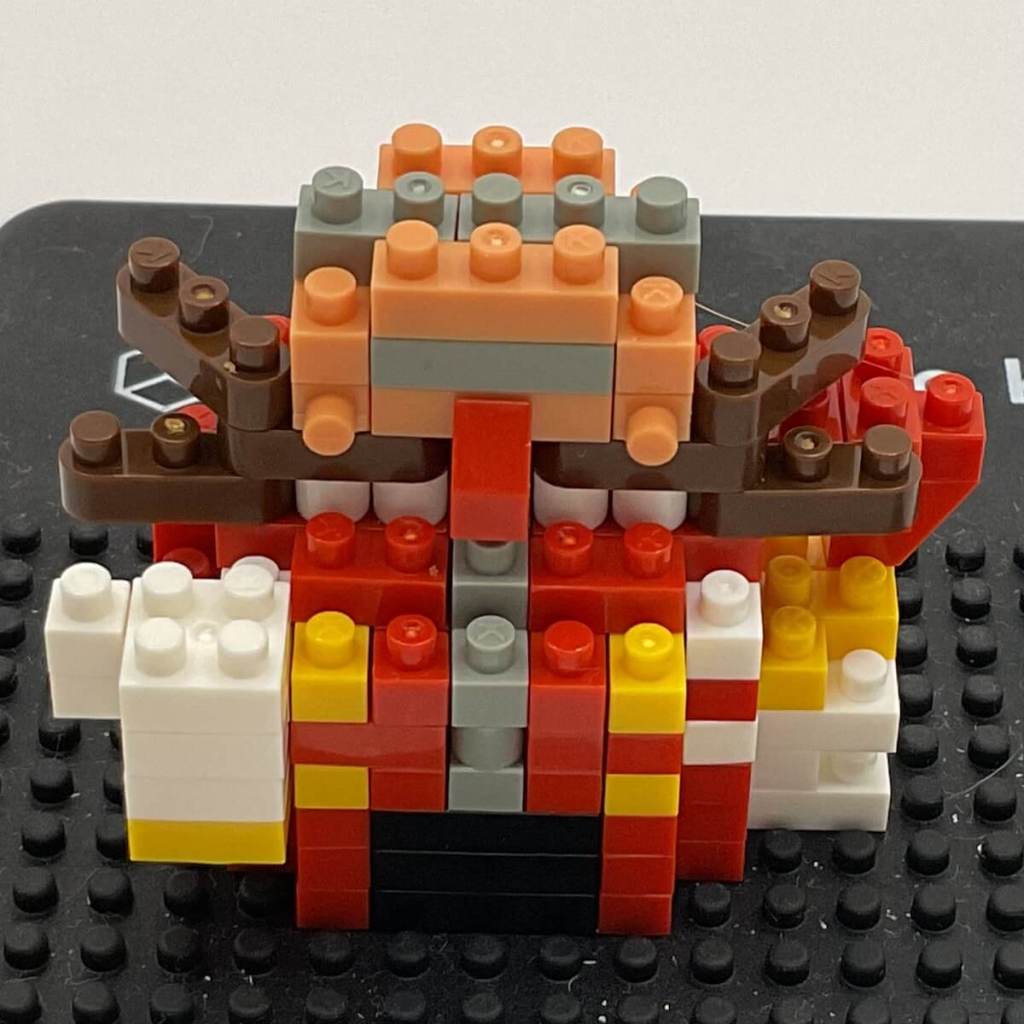
Step 6: Building the Hands
This step unveils that both of Eggman’s hands are built into the body, which is a welcome design choice. Inserting the 1×1 brick into the step piece may cause some nervousness due to stability concerns, but the overall build appears promising.
Step 7: Stability Reinforced
Step 7 brings good news as it provides much-needed stabilization to the areas of concern from the previous step, alleviating potential fears about fragility.
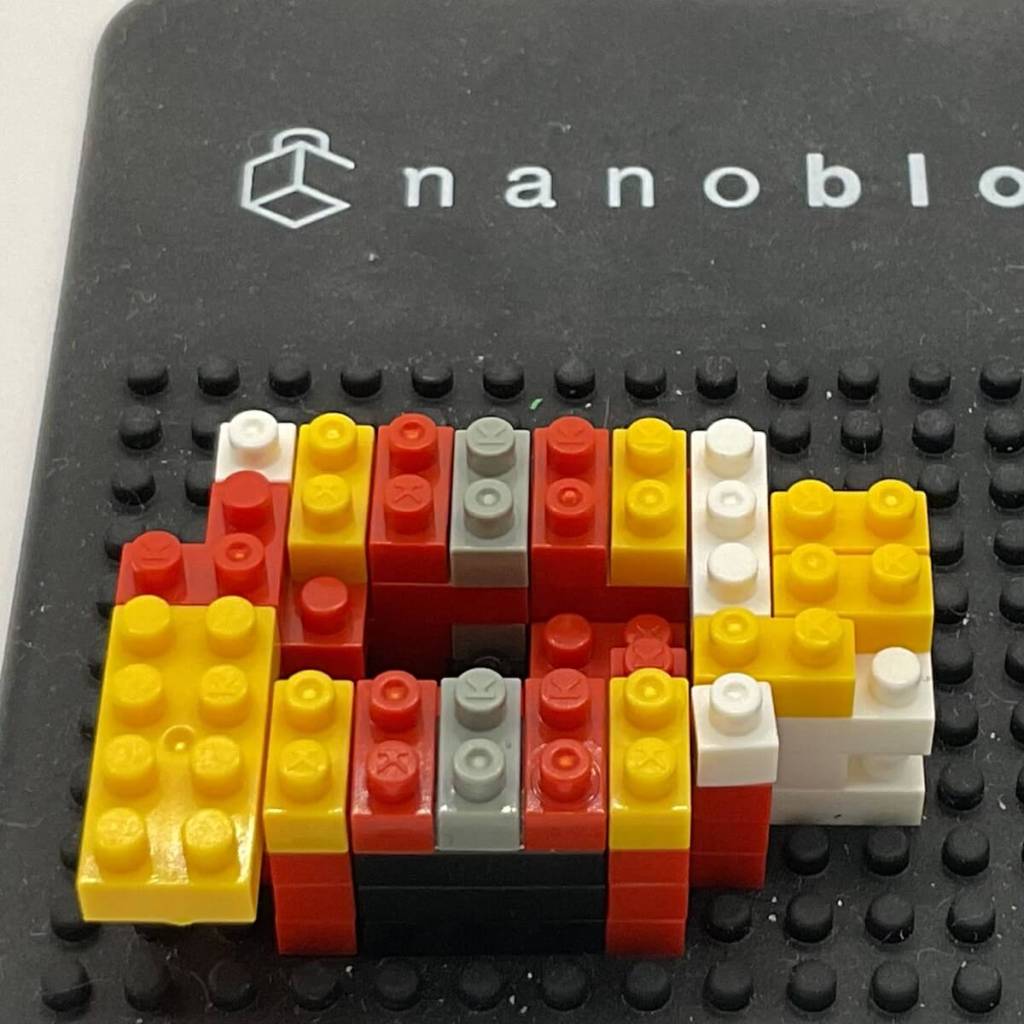
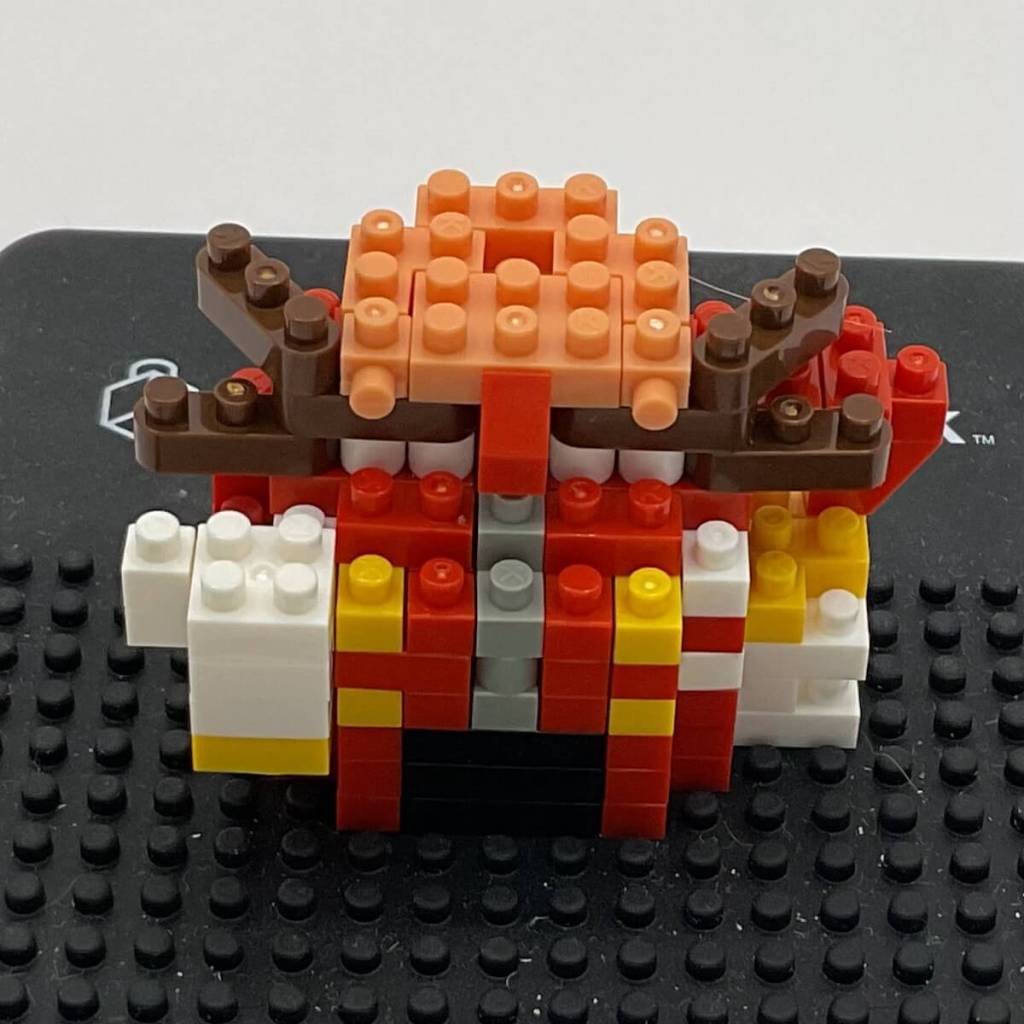
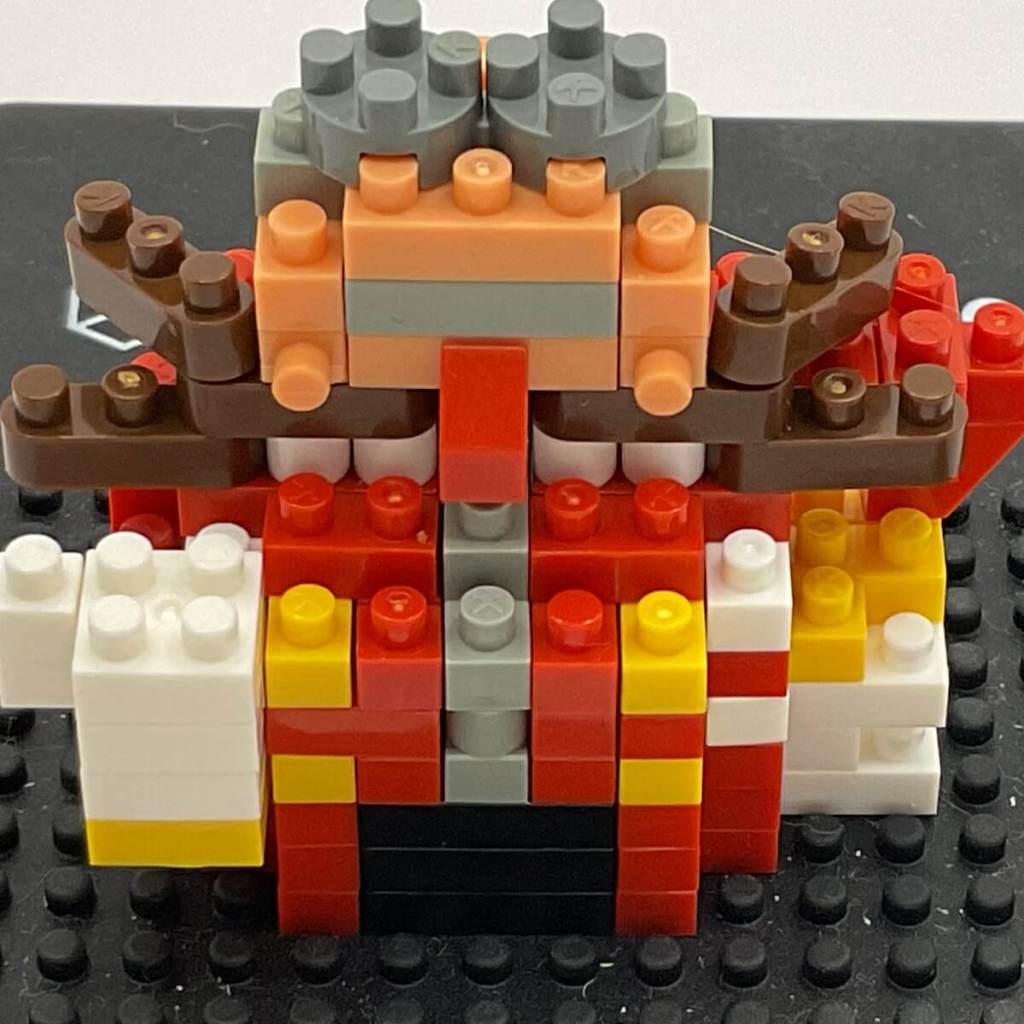
Step 8: Mustache and Teeth Begin
This straightforward step kicks off the base of Eggman’s mustache and introduces his endearing teeth.
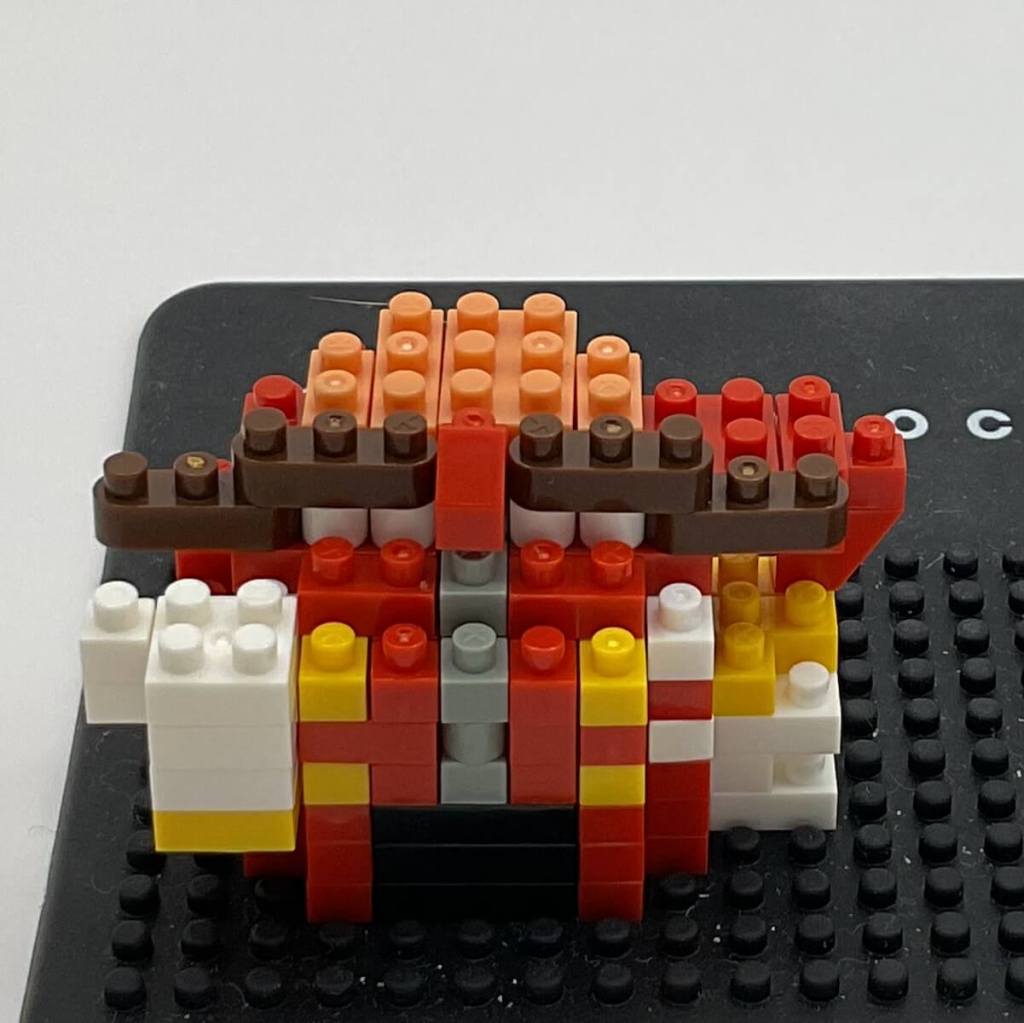
Step 9: Loving the Details
In Step 9, we appreciate the stability this layer adds to the previously constructed mustache sections. Eggman’s cute red nose, comprised of a single, perfectly-picked brick, adds character to the model.
Step 10: Building Up the Face
Another single-layer step, Step 10 continues to build up Eggman’s face. The classic blown-out mustache look is taking shape, and the model remains remarkably stable.
Step 11: Seamless Progress
As we move through Step 11, we continue to build up Eggman’s head in a single layer. The stability of the model has been consistently impressive, and building upwards in this manner has made the experience relaxing.
Step 12: Completing the Head
Step 12 is another single-layer addition to Eggman’s head, bringing us closer to completion.
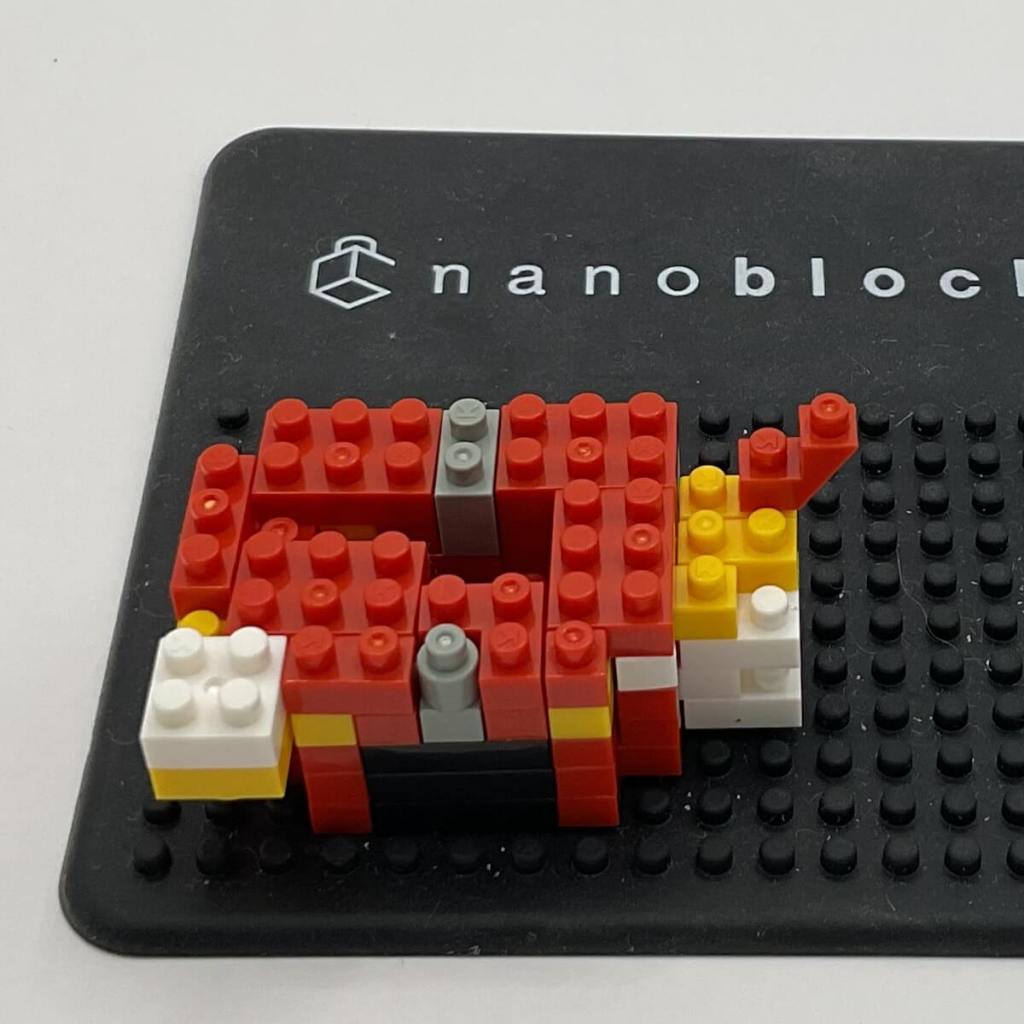
Step 13: The (Very Mild) Challenge of Goggles
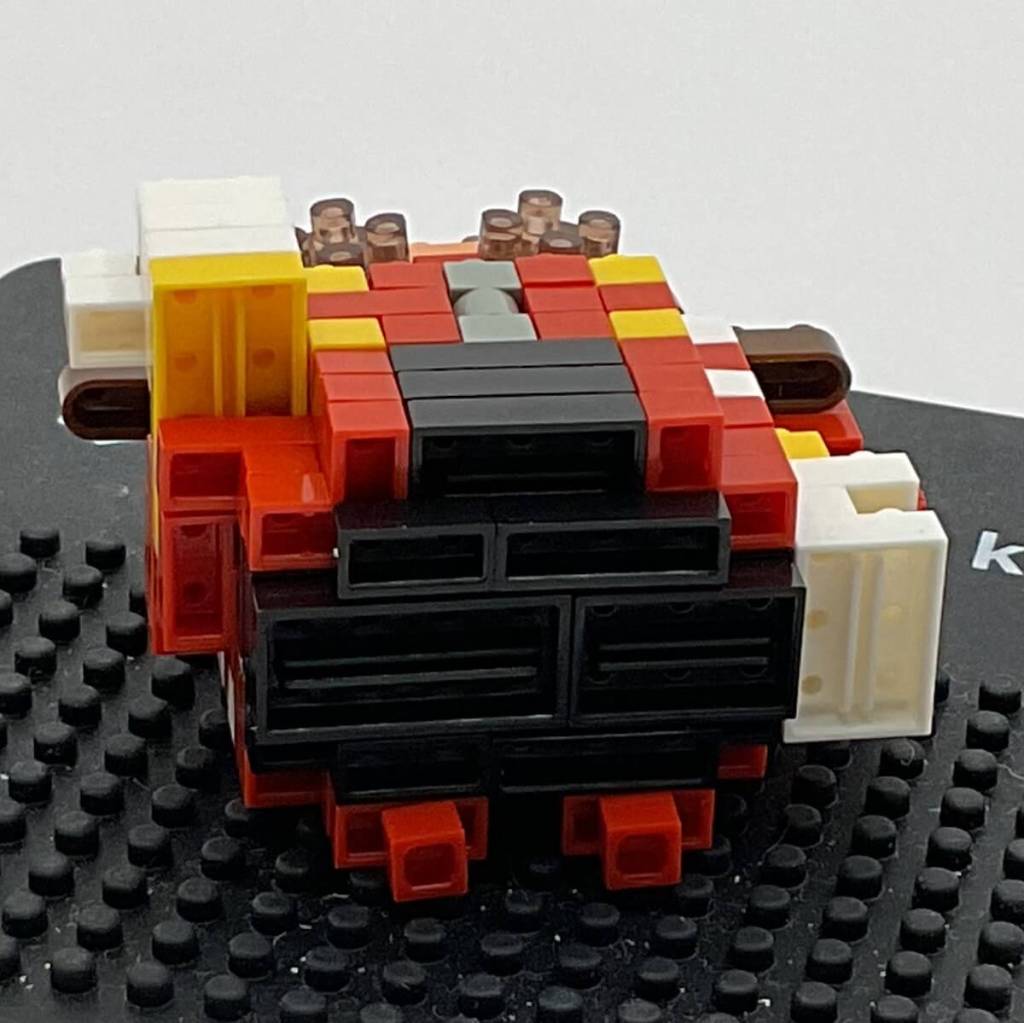
Step 13 appears straightforward at first glance but poses a mild challenge due to the central placement of the rounded 2×2 circle bricks that make up Eggman’s raised goggles.
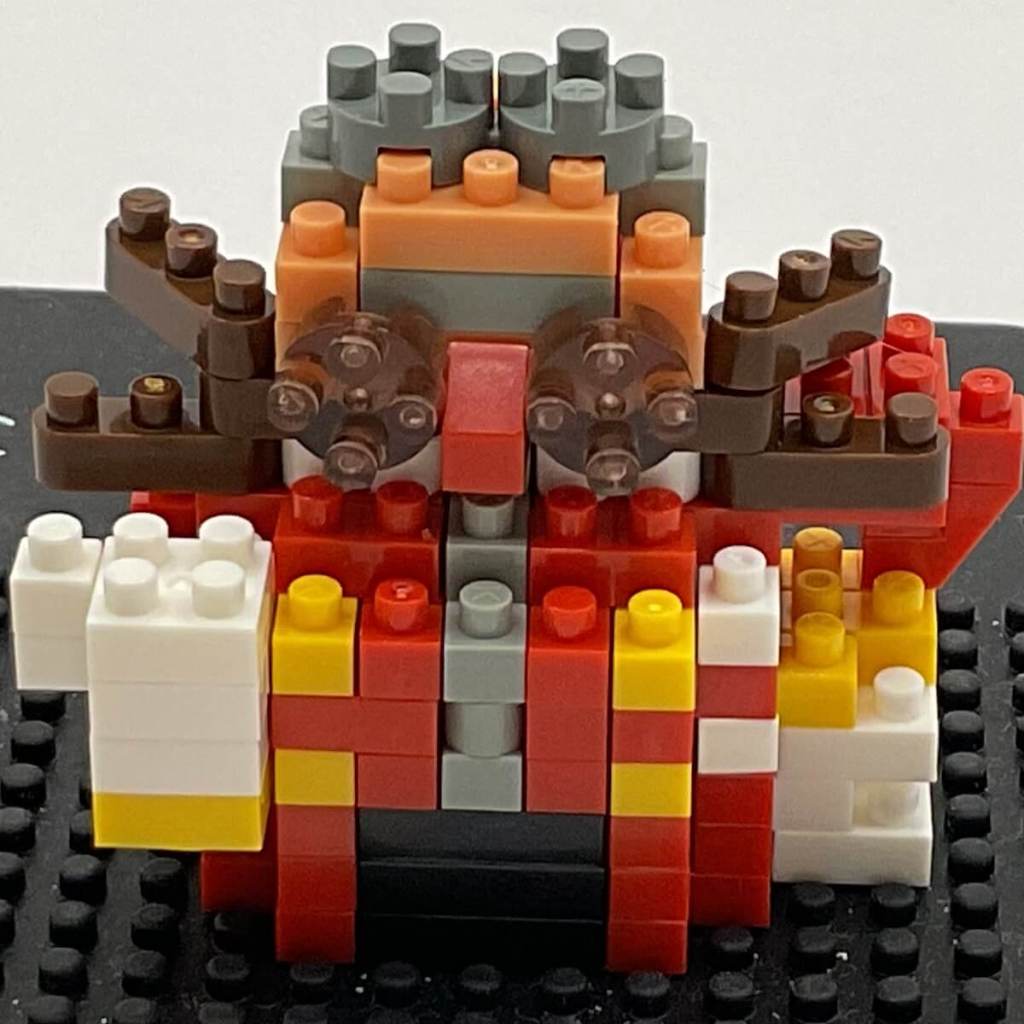
Step 14: Glasses in Place
This step uses two dark-clear 2×2 rounded circle bricks as Eggman’s glasses. It concludes the build for his head and lower torso, leaving us with the lower body and legs to construct. The stability of the model thus far instills hope for the remaining steps.
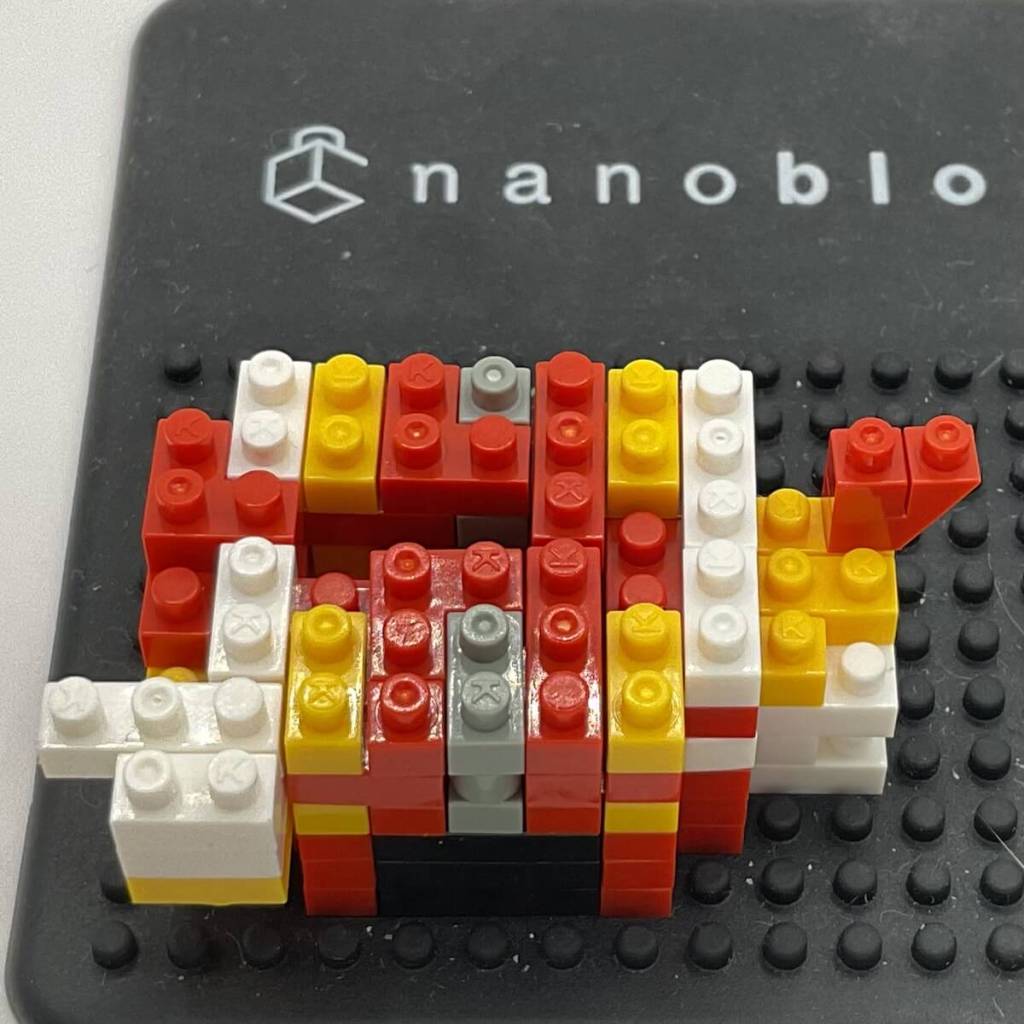
Step 15: A Slight Challenge
Step 15 proves to be a bit more challenging, requiring the model to be turned upside down, with all bricks placed in the same orientation. The change in perspective can be slightly confusing, marking one of the first times this model could be deemed challenging. However, it remains very manageable, even for a determined beginner.
Step 16: Stable Legs
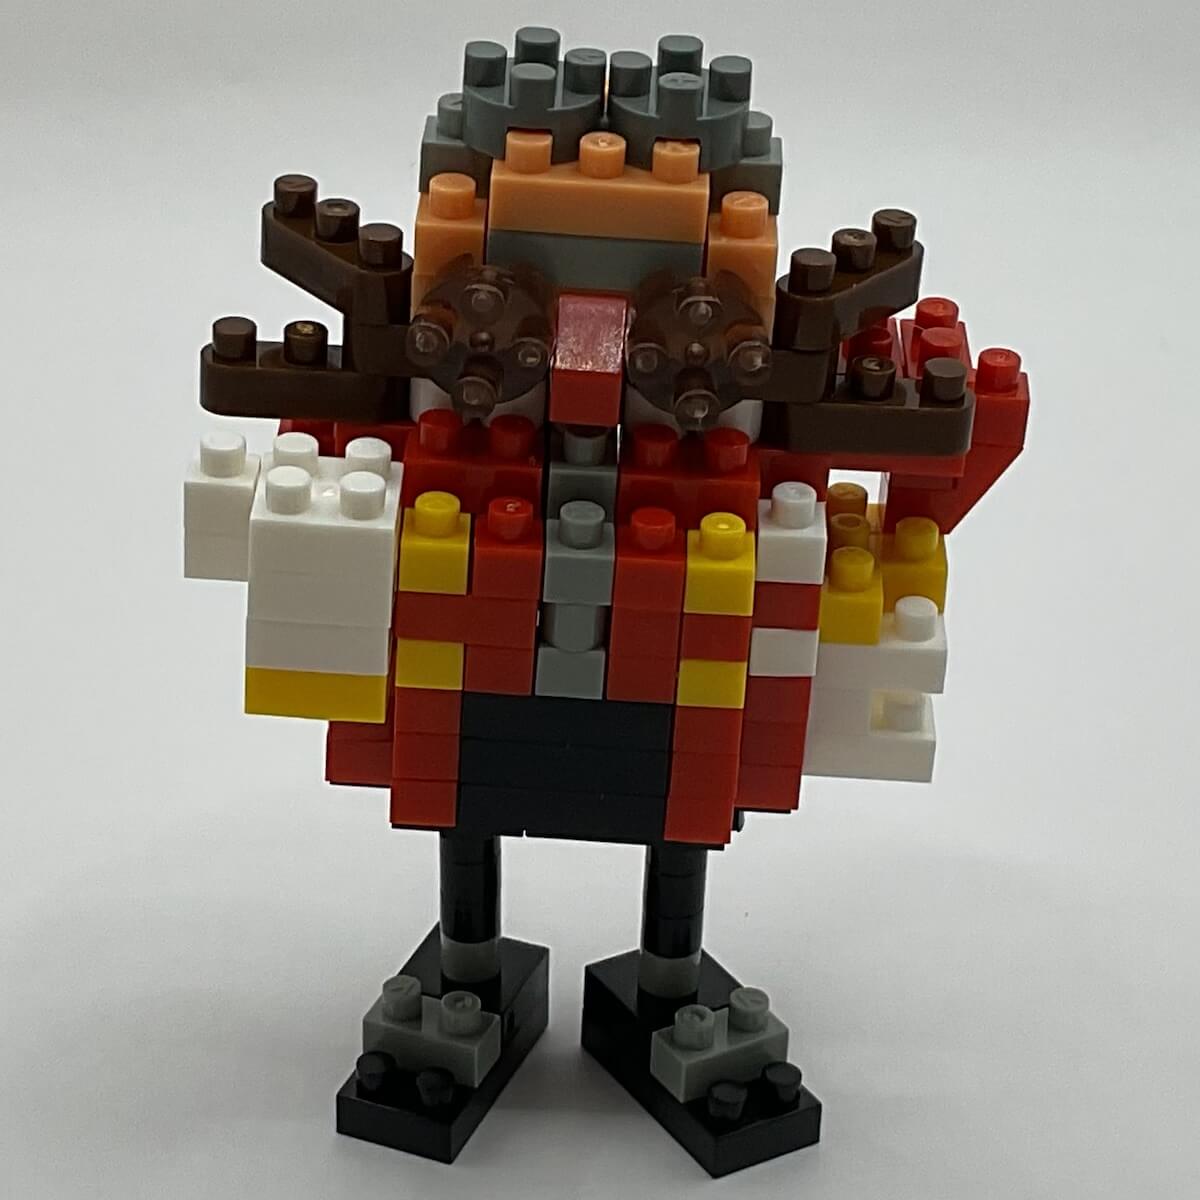
The final step builds and attaches Eggman’s legs. Remarkably, despite their greater length compared to Sonic’s and Tails’ legs, they provide perfect stability. Unlike the previous models, Eggman doesn’t require an additional stand made of clear bricks—a testament to the brick villian’s sturdiness.
Final Thoughts: A Delightful Build
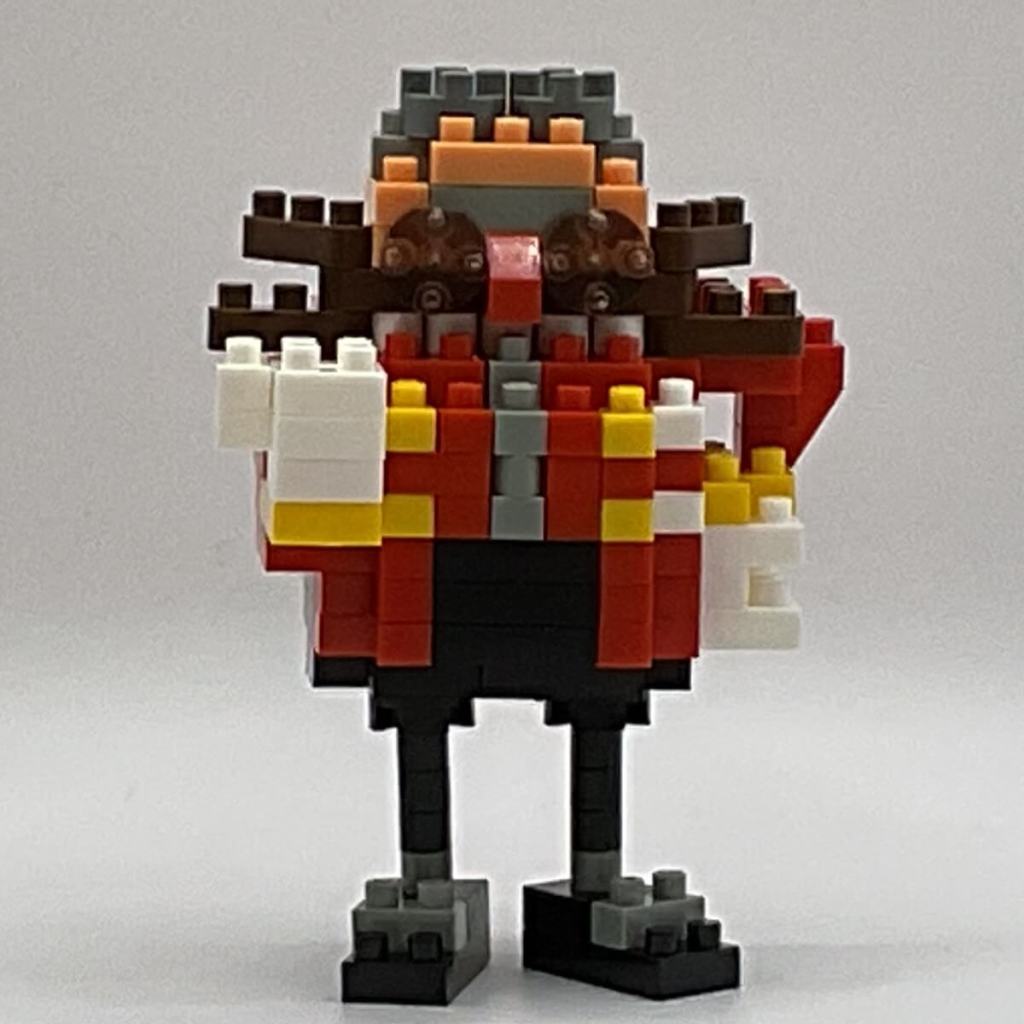
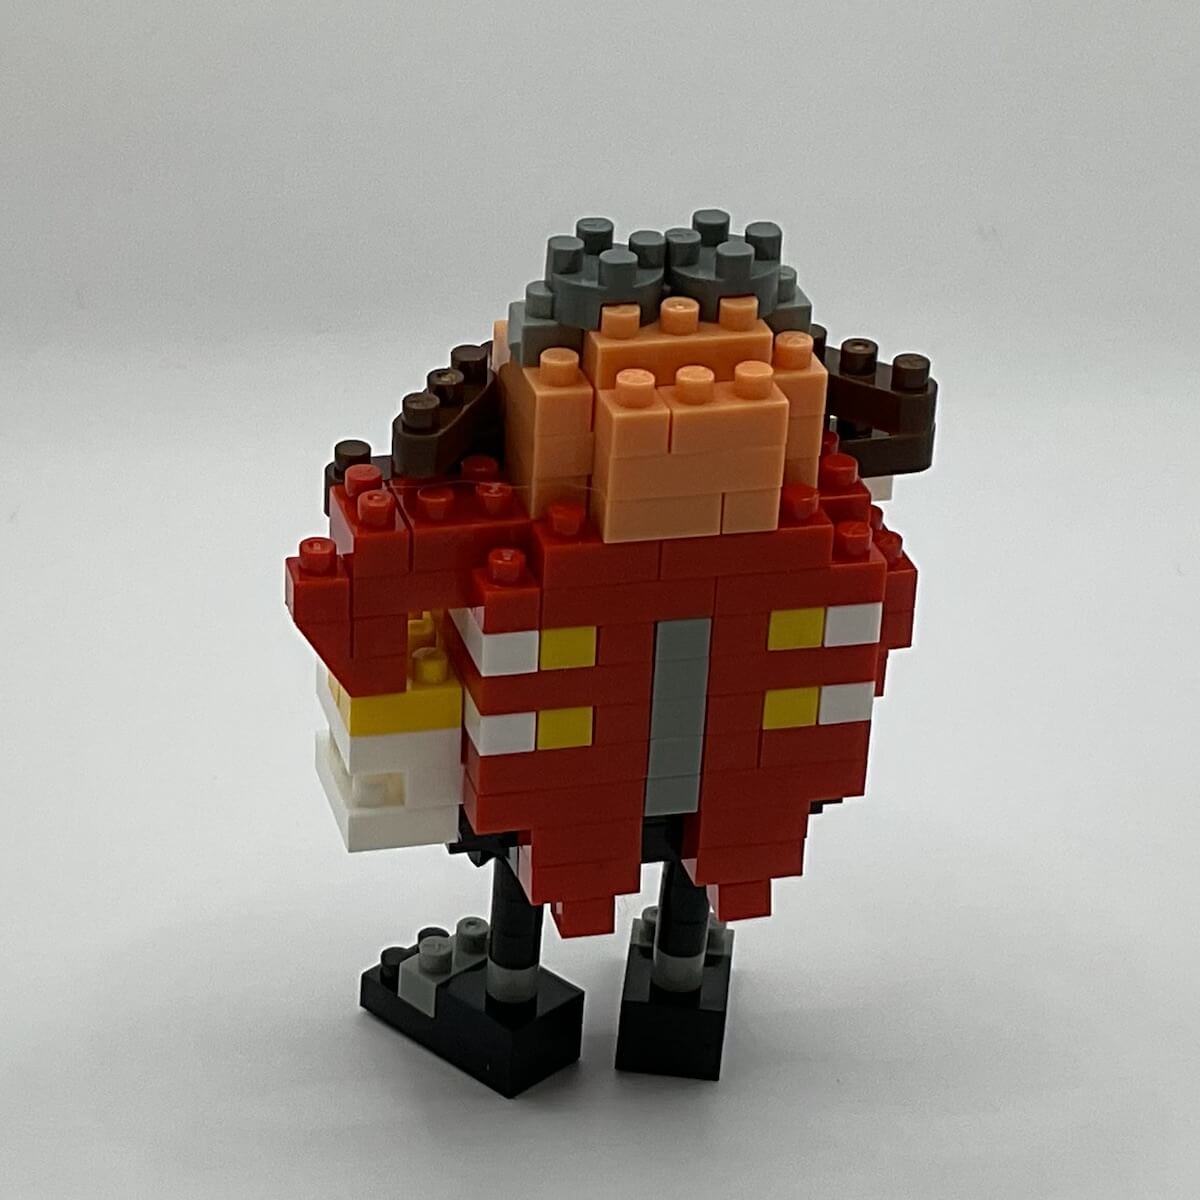
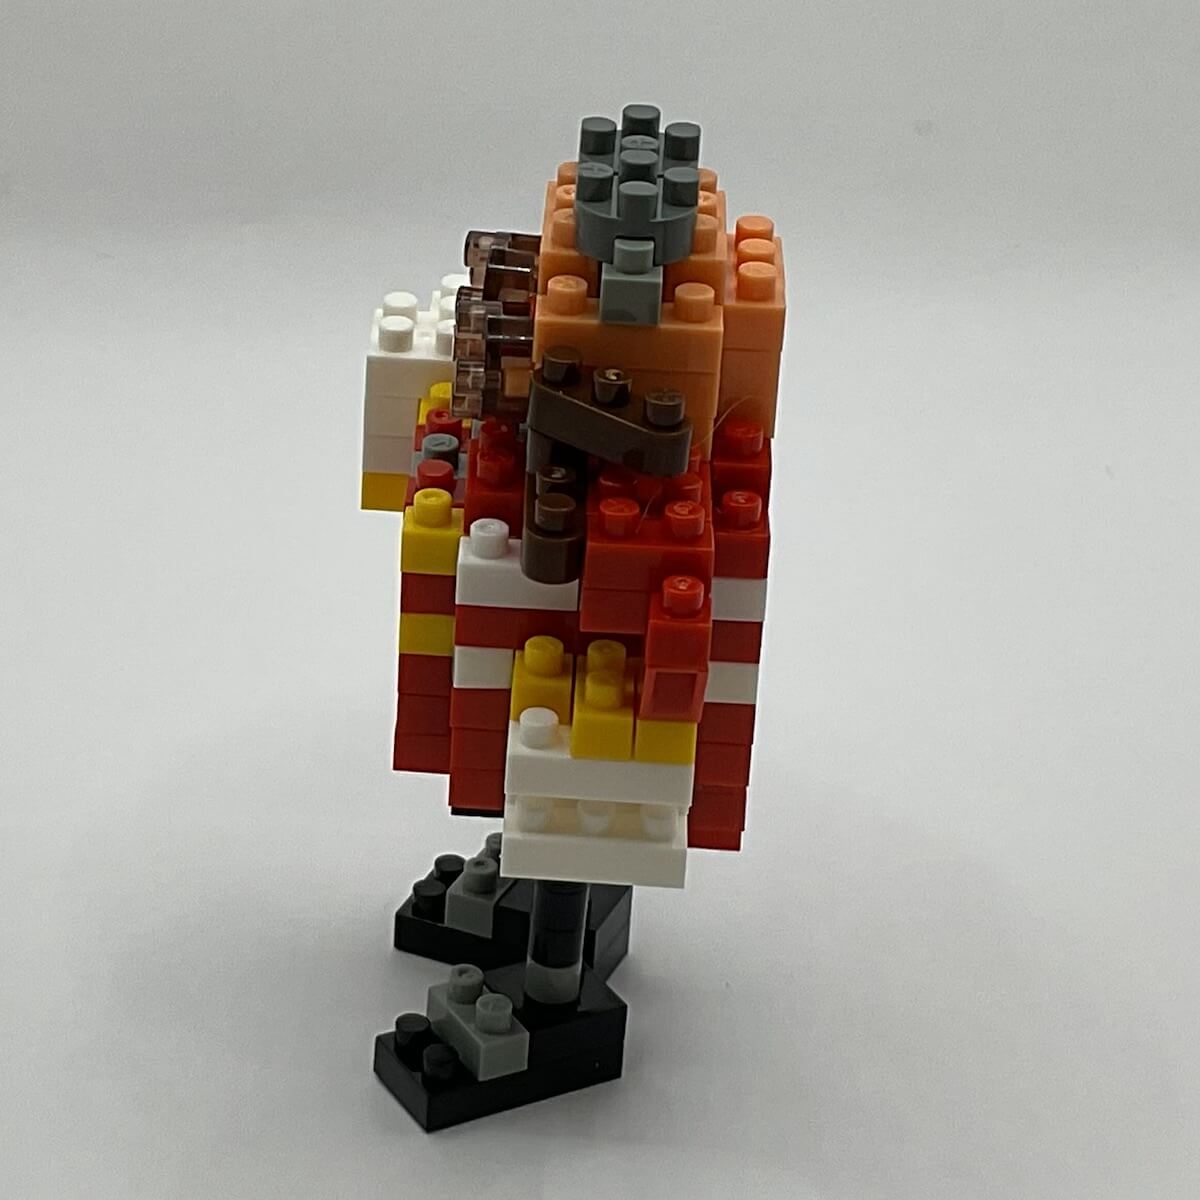
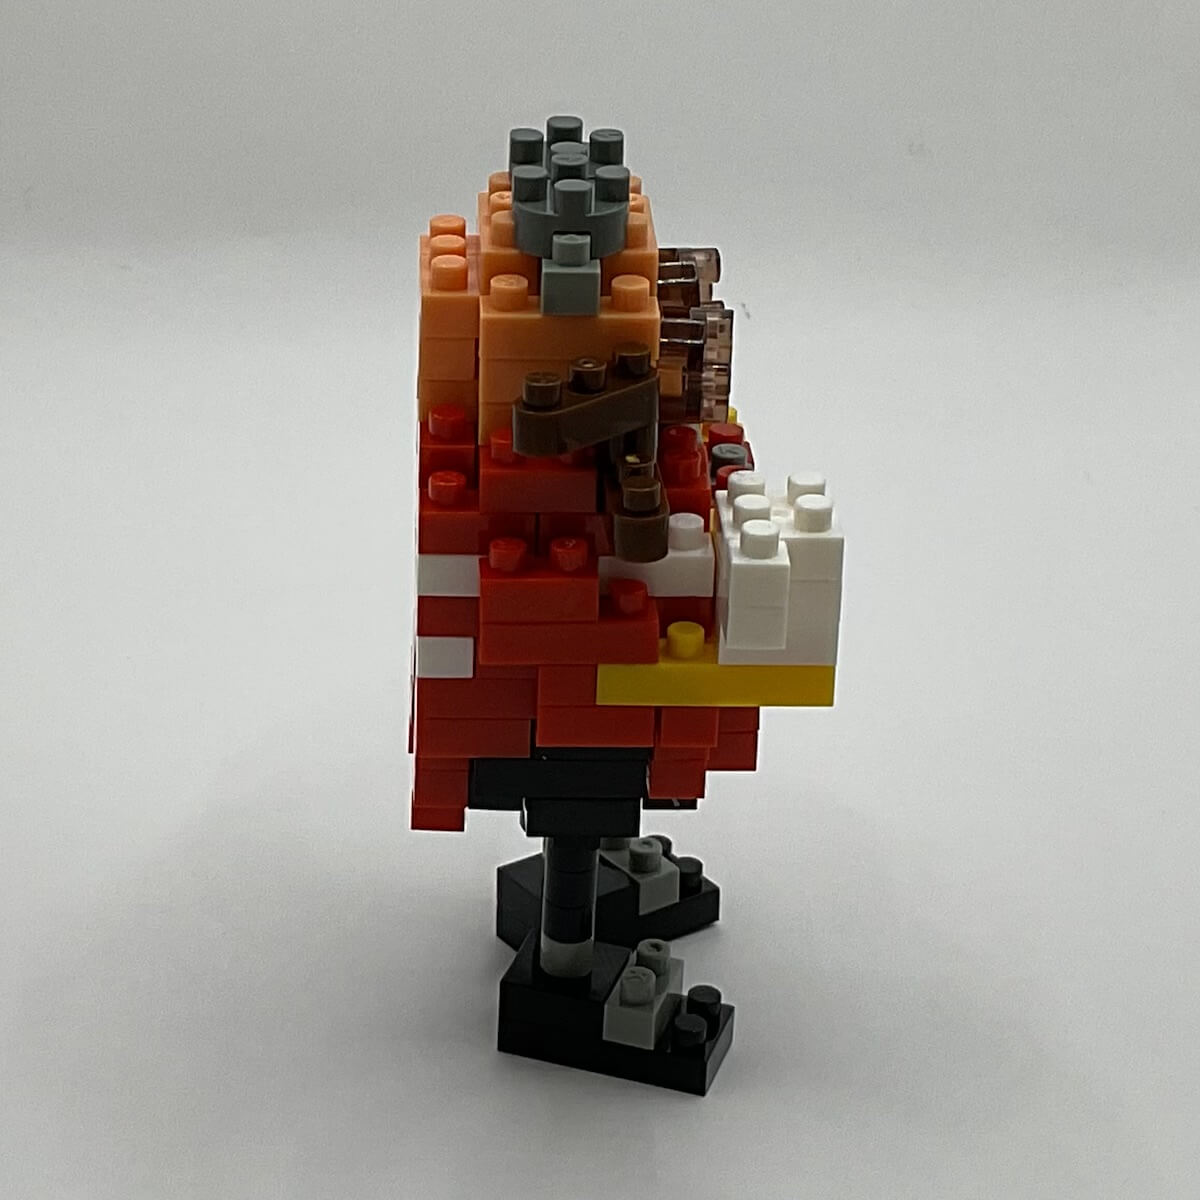
Dr. Eggman emerges as an adorable figure and is undoubtedly our favorite model from the Sonic series. He boasts a perfect character design for a micro-block model, and most importantly, he’s surprisingly stable. Nearly every part of the model, except the tips of his mustache, is secured by at least two studs. The inclusion of his hands in the torso build is a smart design choice, and the overall construction is unified and straightforward. Except for the legs, this entire model was built seamlessly from the bottom up, providing a simple, relaxing, and enjoyable layer-by-layer building experience.


You must be logged in to post a comment.